Posted on

ADAPTING HALVIS AND VISSER FOR MACHINE KNITTING

In the spirit of clearing up/out and getting things in order for whatever is next, here are some notes I’ve had half-typed up for a good long while. More than five years ago and possibly less than ten, I was given a knitting machine by the neighbour of friends – she had dementia and no longer had the capacity to use the machines. She could still remember what belonged with what. In this way I got a standard gauge Brother machine, the machine knitting section of her bookshelf and a Hague Linker (a blue thing on a tripod that she knew I needed, but not what it was anymore – at the time, I had NO idea). It seemed respectful to learn what to do with all of it. Up until then I’d had the standard hand knitters’ opinion that machine knitting was somehow cheating, in some dramatically different way than using a sewing machine, drill or blender. I took a year of machine knitting classes at Morley College on Fridays with Jo Thompson. It changed the way I knit and think about knitting, enriching my hand knitting and how I approached it, as well as adding a whole new set of skills and options provided by the machine. While the stitches formed by both hand and machine have the same structure, each can lend itself better to certain things. Some things are harder to do by machine that can easily be done by hand, and others harder by hand than by machine. And of course, there’s the time factor, which makes them very different beasts indeed.

For the most part, I now knit things by hand that don’t make sense on the machine. Certainly, I try to design hand knitting patterns that are intrinsically easier or indeed only possible by hand, with all the accompanying challenges and satisfactions. Yet, occasionally a pattern pops out that can be easily adapted to be made on the machine too.

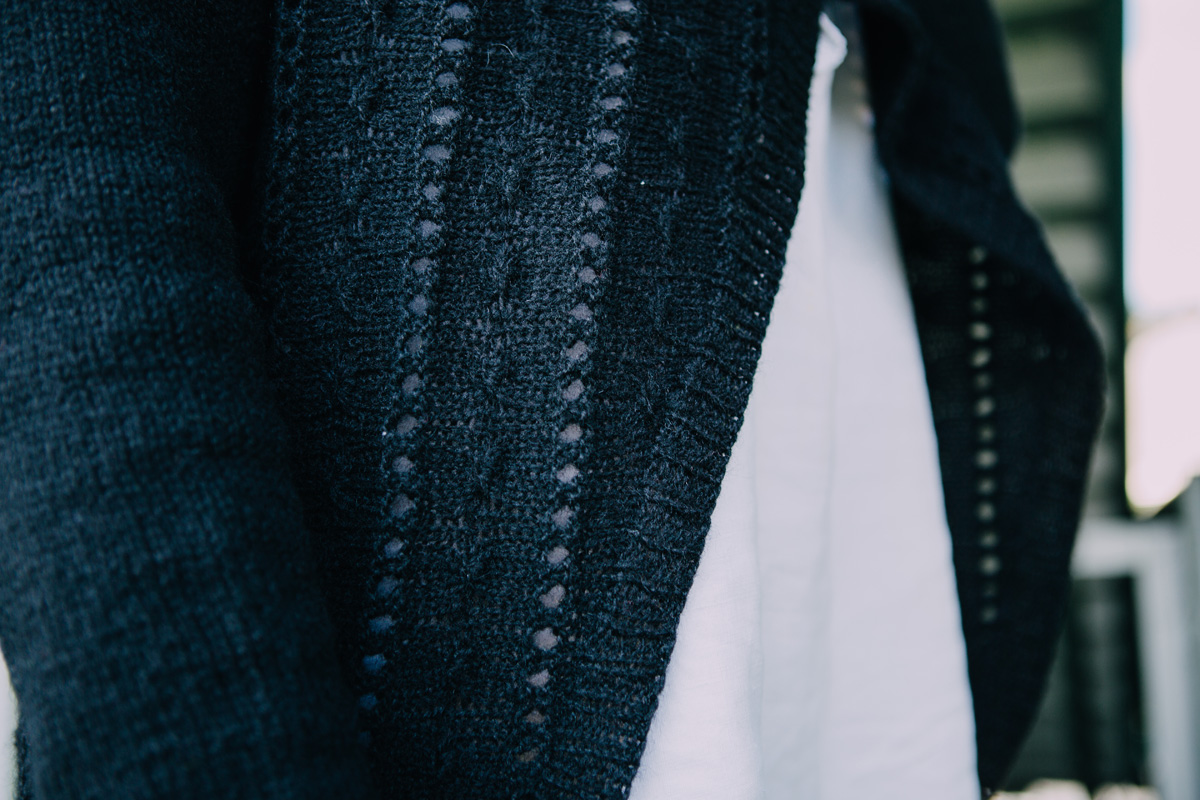
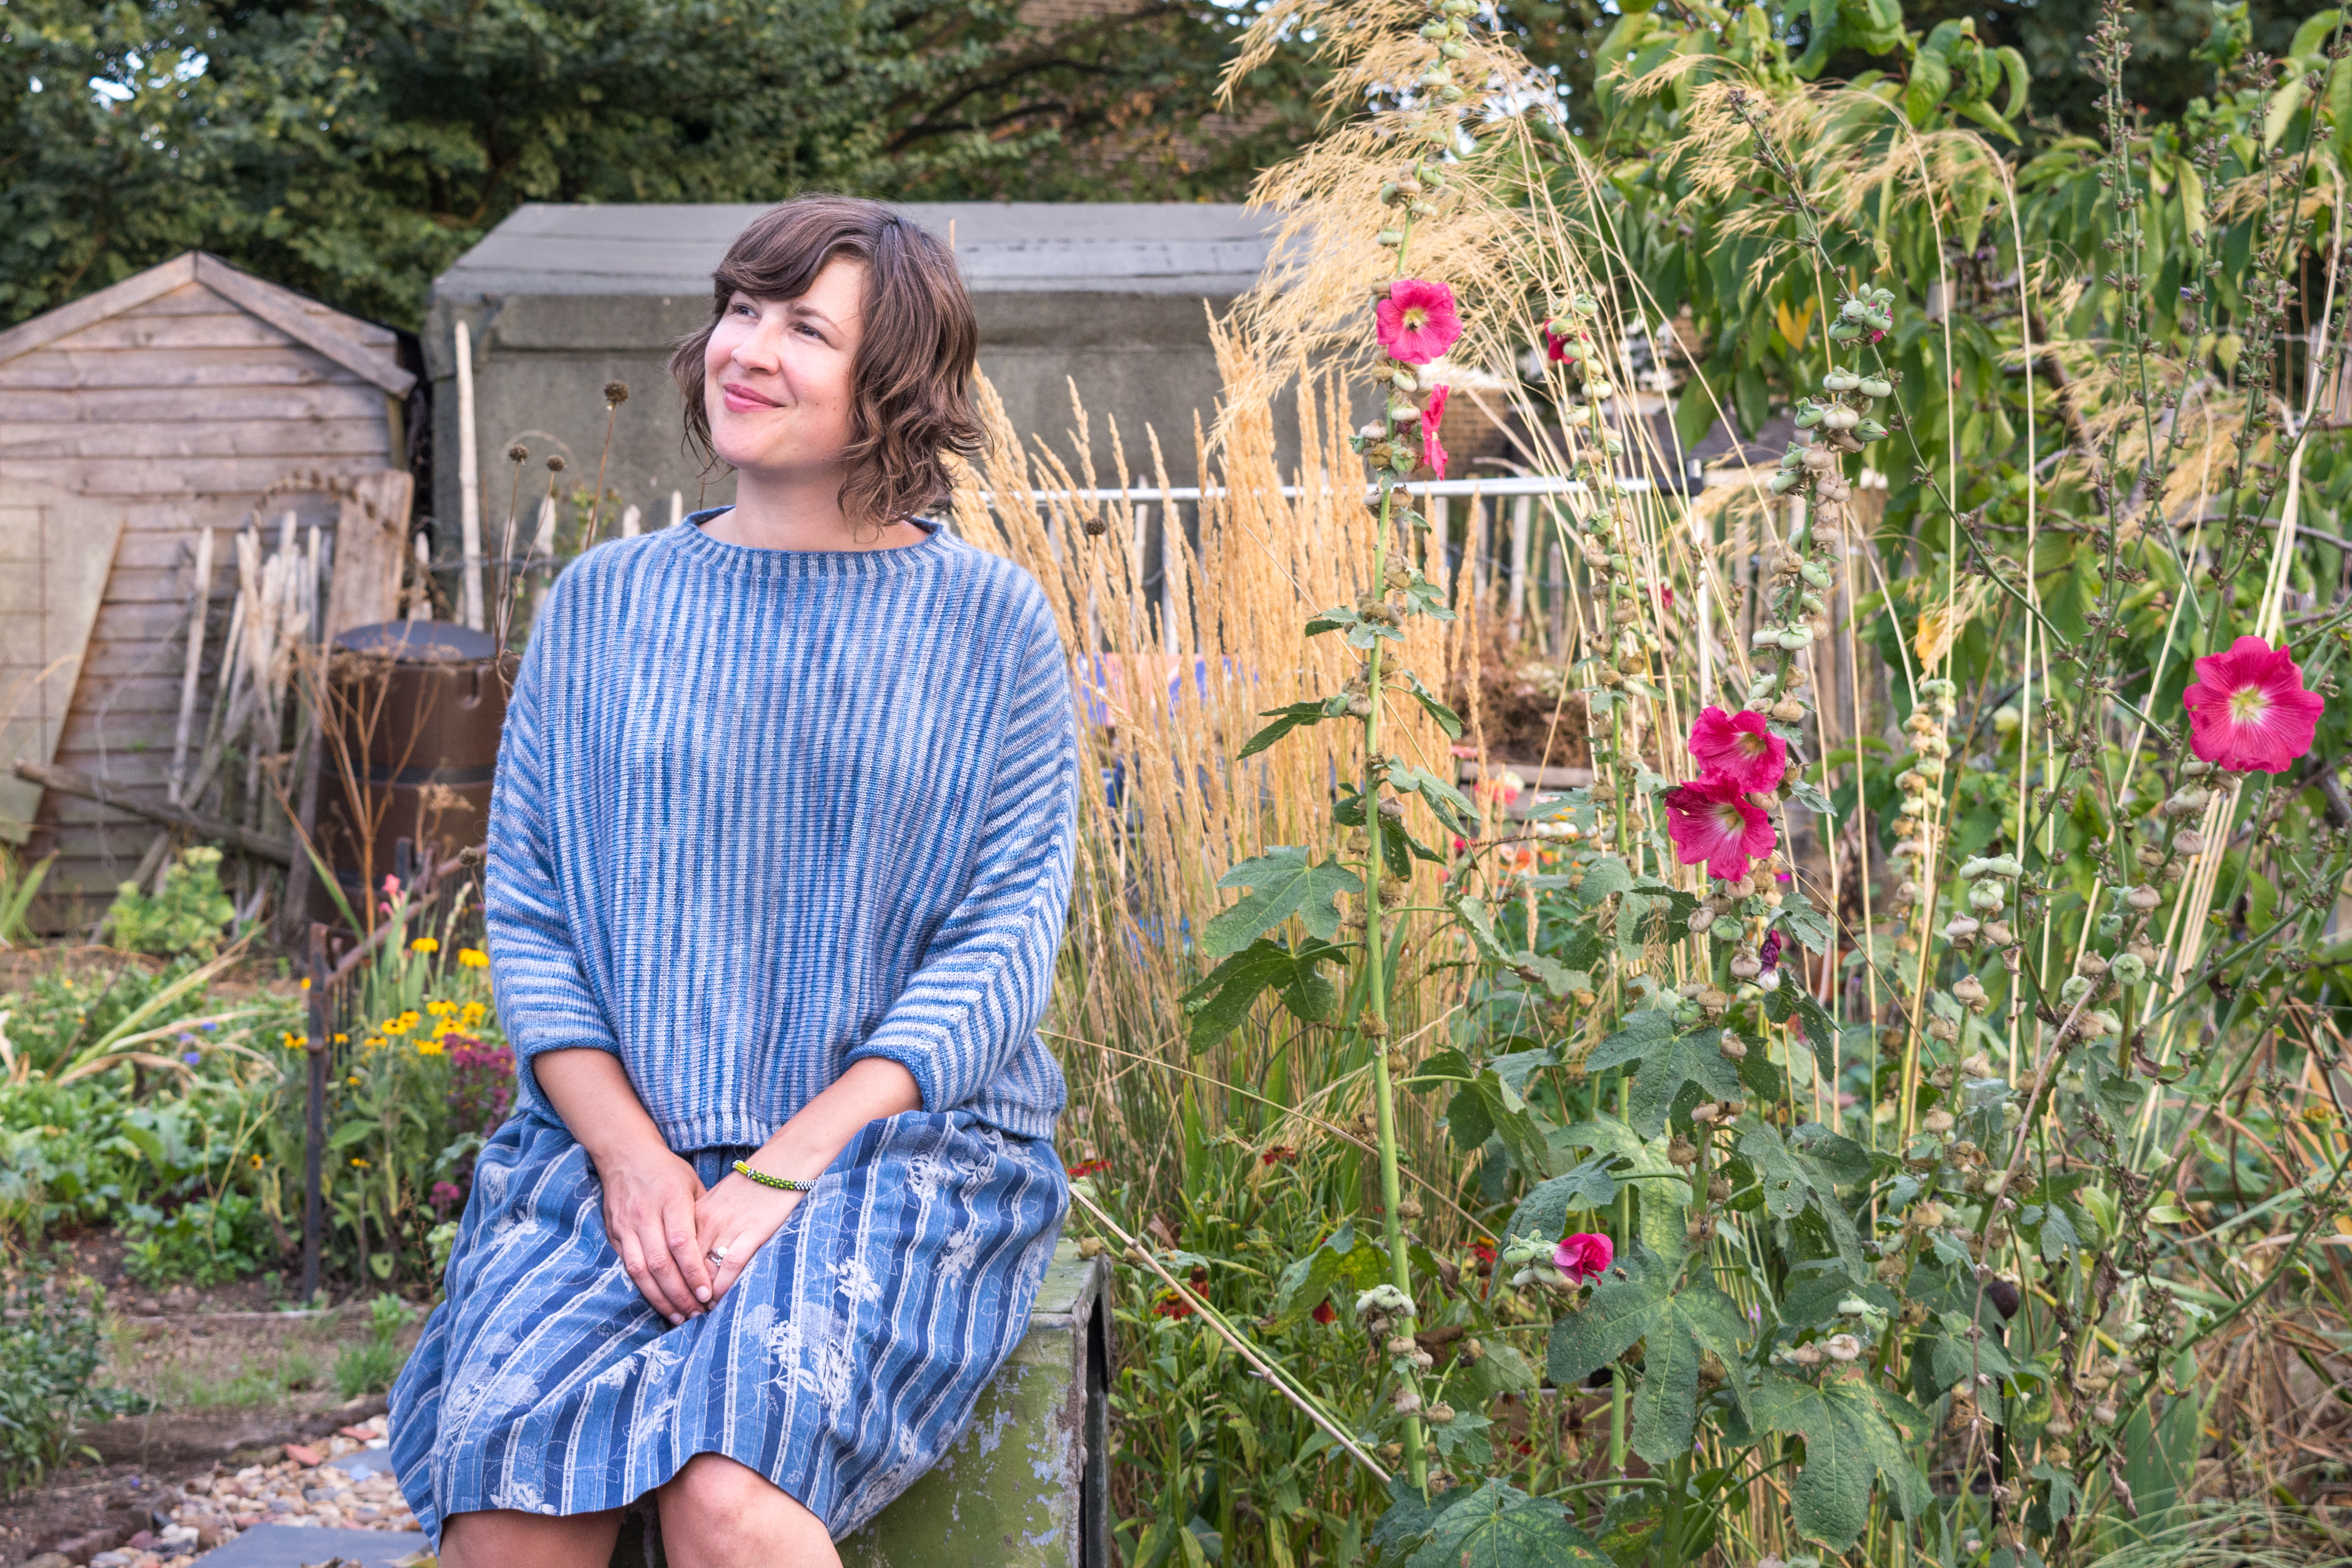
My Halvis and Visser sweaters use the same basic construction, with subtly tweaked dimensions. Halvis is written to be worked in 4ply/fingering weight and Visser in DK/light worsted. It’s an unusual construction, which I hadn’t come across before, though all likelihood it was out there. I’ve certainly seen it adopted elsewhere since. I am especially proud of it, as not only does that make for an interesting knit (even for the seasoned knitters amongst us), but it importantly also looks good on the many different bodies I have seen versions on. Garments with sideways knit bodies usually rely on batwings to allow movement around the armholes. The inset Sleeves of Halvis and Visser, with the extra hidden ‘seam’, creates more structure that doesn’t slouch or ‘pull’ at the shoulders the way it can with a batwing. There’s also less ‘wing’, making it a shape less easy to date, and the decorative decreases along the top, rather than under the sleeves are fun and follow the body well. I wear mine for a comfortable, oversized fit, but this can be adjusted to personal taste.

Having knitted both a Halvis and Visser sweater by hand, I then made one of each using a knitting machine. By hand, it’s A LOT of stocking stitch, which, I know, at times/for some can be wonderful, repetitive yet productive, mindless/full satisfaction. As someone who knits as work, it just feels like, well, a lot of slow-going, work. Work that a knitting machine could do quicker.

I have no experience of following or writing patterns for use with a knitting machine. My intention is to give pointers to help you adapt my hand knitting patterns for machine, but you’ll need to rely on your own experience and smarts. And you’ll need to have bought the Halvis and/or Visser patterns for any of this to make any sense at all. You can find them for purchase here: Halvis and Visser.

These notes are not intended to be or replace the pattern in any way, but hopefully they make some sense and will help you with your own puzzling and calculations. They are also notes for myself, if I ever make more by machine (because, while I think I will remember, I won’t). 

GENERAL POINTERS
– Just a little reminder, cause you’re on a knitting machine, not knitting flat by hand: you will always be working from the wrong side (aka. with WS facing), so adjust accordingly. 
– You will still need to work the corrugated rib Neckband and Bottom Edge by hand.

TYPE OF MACHINE AND KIT
In terms of machines and accessories, I have both Brother standard gauge and chunky machines. I do not use a ribber (haven’t learnt how yet), so the following tips are based on using a single bed (with no ribber attached), and the standard transfer (1, 2 and 3 stitch) tools and latch hook that come with the machine. I also used scrap yarn for casting on and off (explained in ‘Scrap Yarn for Grafting’ below).

GAUGE
My personal handknit gauge ratio (stitches to rows) is close enough to match the knitting machine gauge ratio, so I was fine to combine machine and hand knitting. It also doesn’t bother me that the stitches worked on the machine are just slightly smoother than those I work by hand. After blocking and wear, the difference really fades away. And most folks looking wouldn’t spot it (or mention it if they did), and the folks who do, well, they’ve probably got bigger problems being them.

In other words, you gotta swatch for both hand and machine tension, if using both, so they match (closely enough). And make note of what they are somewhere you will for sure remember where, for future reference.

GAUGE FOR HALVIS
I worked my Halvis Body on a standard gauge domestic Brother (with no ribber attached).
– I set the tension dial to 7.
– I set the tension dial to 10 to work the cast-off row for the Upper Body (on Front and Back, that becomes one side of each armhole). Just remember to put it back to 7 after!

GAUGE FOR VISSER
I worked my Visser Body on a chunky gauge domestic Brother (with no ribber attached). It was a while ago (a few years), so I don’t remember the settings. I’ll add them if I make another one.

NUMBER OF NEEDLES NEEDED (AND SIZE RELATIONSHIP)
Depending on how many needles you have in the bed of your machine, you may not be able to work the larger sizes on the machine (without shortening the length of the Body (which could in turn be replaced with longer ribbing…)). To check, compare the number of needles you have on your machine with the greatest number of stitches you will need, as specified in the pattern. This will be the number of stitches that span the top of shoulder to the bottom edge. As long as your machine has enough needles for the largest amount of stitches – the drop from top of the shoulder to bottom edge – you are good to go with the numbers in the pattern, as is.

Maximum number of Body stitches needed for Halvis: 131 (133, 137, 143, 147, 153) sts.

Maximum number of Body stitches needed for Visser: 105 (110, 115, 122, 127, 134) sts.

WHERE ON NEEDLE BED TO CAST ON
Make sure to cast on the stitches far enough over, so that as you increase for the Underarm Shaping and Upper Body, you have sufficient needles available. To be sure, you could start at the very right edge of your needle bed (and always increase on the left side). I prefer to work as close to the centre of my needle bed as I can, so I did the little extra calculations to work out where on my bed to start, so I ended my final increase on the far left of my needle bed.

If you want to lengthen the Body (and have the spare needles in your bed to do so), cast on extra stitches at the start and maintain these throughout, keeping them consistently in the Lower Body. This is clearly explained and highlighted in the Halvis pattern and not hard to work out in the Visser pattern.

Sleeves should be placed centrally on the bed.

SCRAP YARN CAST-ON FOR GRAFTING
If you wish to graft the seam along the edge of the Lower Body (rather than mattress stitch it – both options given in patterns), cast on and off with a few rows of scrap yarn (say, at least 6) in a noticeably different colour. Use a smooth yarn you can easily pull out – I know my machines came with a really slippery line of nylon cording that can easily be pulled out. Then, graft together BEFORE unravelling or otherwise removing waste yarn.

LOSE THE GARTER EDGE
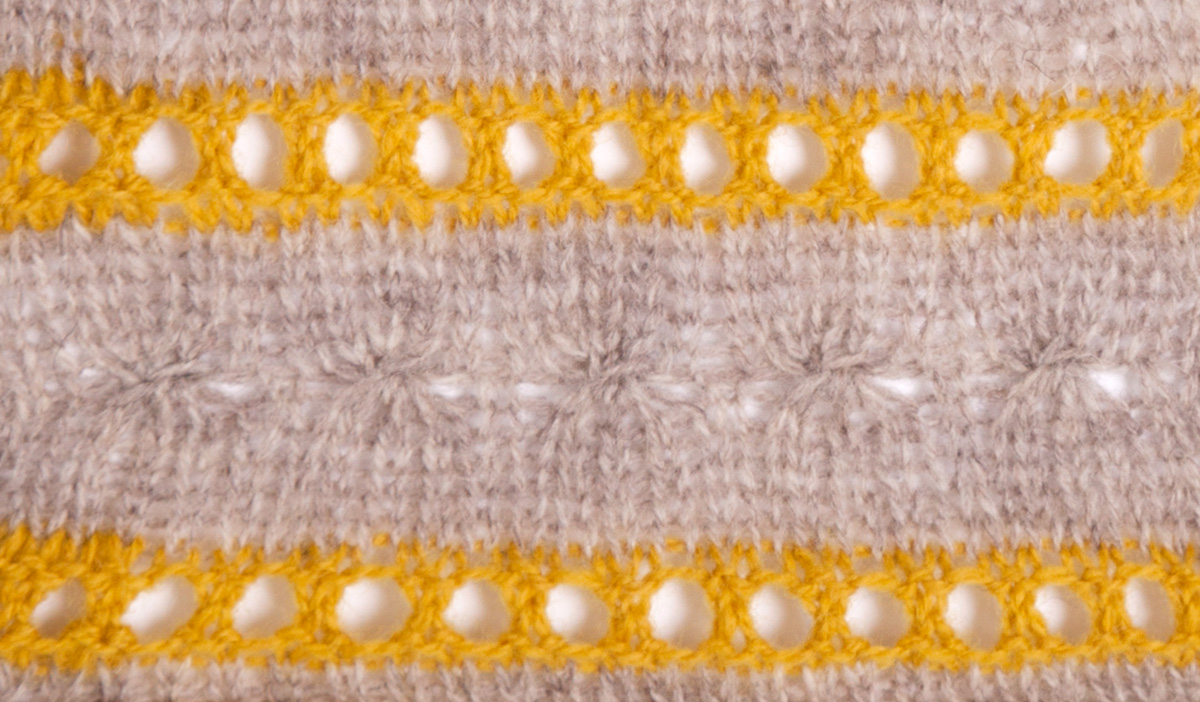
Do away with the garter edge. It is there as a guideline to make picking up stitches easier and neater, but it isn’t a necessity. A garter edge is easy to do when knitting by hand, but, while possible and not complicated, slows things down when using a knitting machine, for minimal benefit.

WORK STRIPES BY REMOVING AND REPLACING CARRIAGE
To work the 3-row stripes, I removed and replaced the carriage on the other side of the needle bed (quicker, safer and less fuzz-inducing than putting stitches on hold every few rows). Yes, it is a fiddle. I found it useful to put the guide rails on.

INCREASING
When increasing avoid creating an eyelet. I used the 3-st transfer tool. I transferred 3 sts over to the left to leave a needle free and then twisted the strand in between (using the single stitch transfer tool) and placed it on the freed up needle. I made sure to always twist each increase stitch in the same direction (to replicate the M1R on RS specified in the pattern). 

DECREASING
Make sure all decreases will look the same on the RS, remembering that you are always working from the WS on a knitting machine. To decrease, so that the decreases work like a k2tog on the RS (p2tog is used on the WS) as specified in the pattern, I used the 1-st transfer tool to move the 4th st in from the edge, to the left, onto the 3rd st in from the edge and then used the 3-st transfer tool to move the edge 3 sts (including the doubled stitch) to the right, to close the gap. 

ADAPTING SIZES
Just a couple of extra suggestions to make it fit how you need/like…
For a small increase, I’d suggest adding a Stripe each of A and B to Front and Back Necklines (+4 Stripes in total), which would widen the neckline a little. You would then need to add the extra stitches to the corrugated rib neckline (that will, ideally, be obvious how to once you get there).
You could sneak 3 extra Stripes in (colour order; B, A, B) in the straight section at the centre under each armpit (+6 Stripes in total). You would then need to pay attention to the knock-on effect on the armholes – Sleeves would need to be 6 sts bigger.
Add 2 Stripes (one each of A and B) on each Shoulder (+8 Stripes in total). If you wanted to keep the length true to the pattern, you’d need to shorten the Lower Body length to account for extra decreases that will be made, by transferring then from Lower to Upper Body, or add those extra stitches to the Upper Body.

ARMHOLES
Do not be tempted to leave stitches live on the Upper Body when creating the armholes for the Sleeves (whether by casting on with a provisional cast-on or not casting off). The specified ‘seam’ (picked-up-and-knitted into the cast on/off) is necessary for the structural soundness of the garment. Do make sure to cast on/off the stitches loosely around the armholes. Loosely, because when you pick-up-and-knit into them, these stitches need some space. For casting off, you can do this by increasing gauge on the row you will cast off (it’s standard to turn the tension dial up by 3). Just remember to return the dial to the regular setting afterwards!

WORKING THE SLEEVES
I used the machine to work the Bodies only, because I wanted to keep the Sleeves knitted in the round (by hand). In this way, the construction stays pretty much true to how the patterns are written. It is however possible to knit the Sleeves on the machine too. I haven’t tried it myself yet, but I’ve thought it through. I would suggest trying it as follows.
You can cast on the Sleeves as separate pieces to sew up and on later OR you can rehang the Body on the machine and work directly from it. If you wish to do this, do graft or sew up the side of the Lower Body BEFORE hanging on the machine to work the Sleeves, but do not sew up the Shoulder seams until AFTER. Re-hang the Body (from the armholes, with the underarm in the centre) on the machine to work the Sleeves directly from the Body.

Split the instructions for working in the round in the centre of the decreases. The decreases should be worked a couple of stitches in from the edges, in the manner used for the decreases on the Shoulders. Make sure to add an extra stitch at each edge, to give yourself a seam allowance (selvedge) along both edges of the Sleeve (these are not present/necessary when knitting in the round).

You want to keep the decreases where they are, running along the top of the Sleeve, because they are a decorative feature of the sweater. Also, I don’t suggest working the Sleeves with the seam under the arm, because, as the decreases run along the top of the Sleeve, NOT underneath, this would mean a ton of transferring of stitches, as the decreases would fall in the centre of the of the stitches being worked. 

Once the Sleeves are complete, you will then seam all the way from the Shoulder (neckline edge), down the Sleeve to the cuff. Finally work the Neckband by hand.

Links to patterns:
Halvis
Visser
Posted on

i-cord for the Tarmac Tank

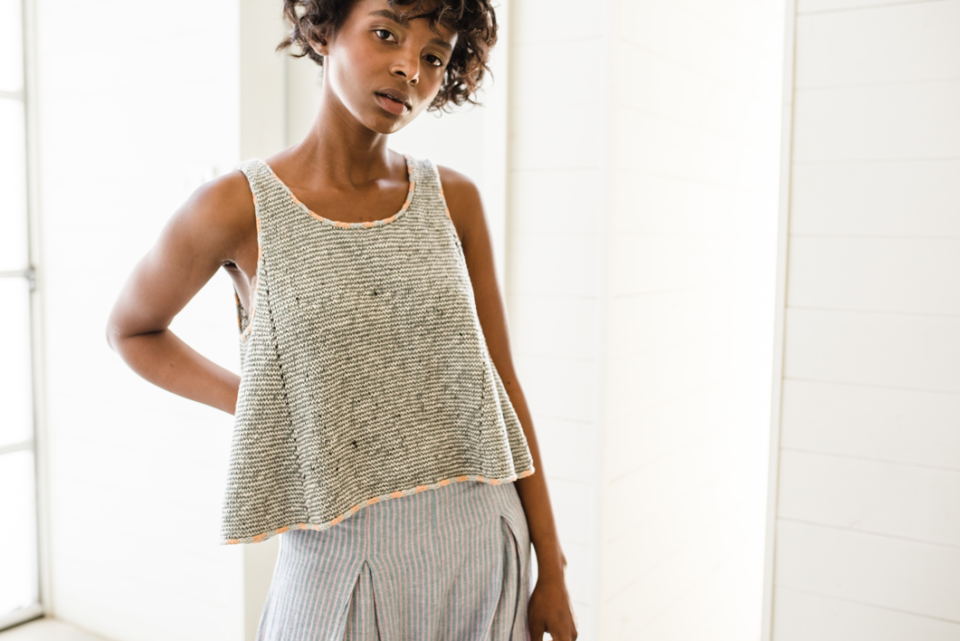
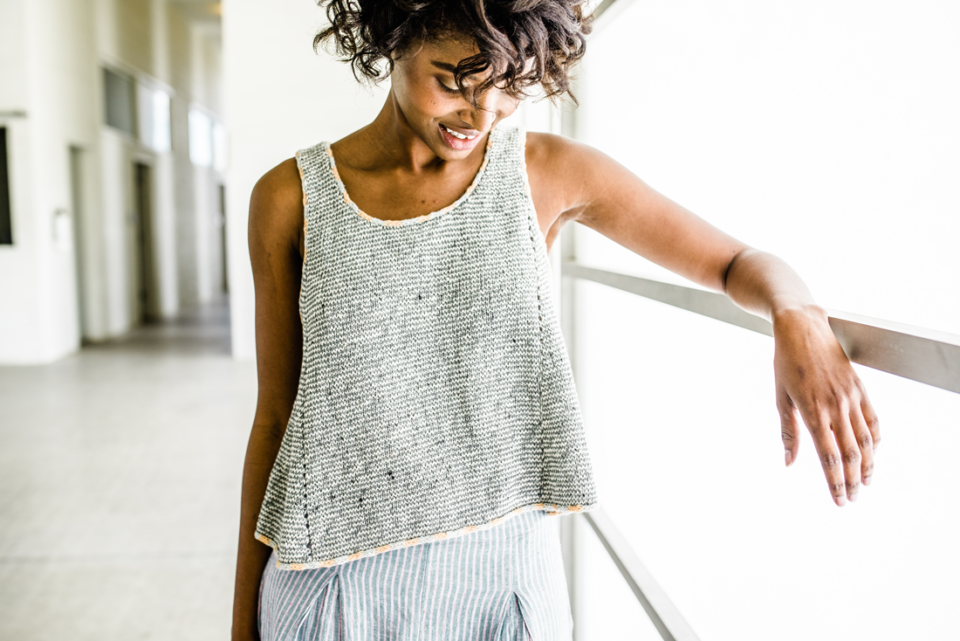
It was a pleasure to design the Tarmac Tank for PomPom Quarterly Summer Stripes Issue number 25, 2018. Most of my knits are woolly and warm, but I love adding the occasional pattern for my knitting friends who live in constantly warmer climates, both with knitting and wearing in mind. And of course, there has been a super heatwave in London (and beyond) this summer, so it’s felt like we might never need a sweater again.

The Tarmac Tank is knitted in Yoth Best Friend, a slightly slubby 4ply/light fingering weight yarn that is a combo of 75% cotton and 25% wool, perfect for all but the stickiest summer days. The addition of wool helps the yarn keep some memory (in comparison to only cotton) and the teeny bit of stretch it adds makes for a more pleasant knitting experience. The little slubs soften the monochromatic single-row/round stripes, to give them a shimmering effect, like heat rising from hot tarmac. Vertical rows of eyelet increases from 4 points introduce A-line shaping for a floaty shape.

I have been loving watching other knitters’ Tarmac Tanks appearing on Ravelry and Instagram in many different colour combinations. The endless possibilities of knitting is one of the things that keeps me fascinated (to the point of obsession) by it. I’d love to try a million different colour combos, but obviously there’s the time issue, so it’s great to be able to see what other knitters chose, and be able to knit vicariously. Some knitters are even on their second Tarmac Tank already!

There are sunshine colours (@cribbetcribbet), and earthier ones (@ribbels_ribbels). Some knitters have done away with the stripes in order to use a marled yarn (@sarahjaymes), or use a variegated yarn (@marion_strickt), while others have colour-blocked the placement of stripes. For this, two very different approaches can be seen from @mestre82, who combines the stripes with a plain section, and @annatricote, who has cast-on her second one and is using stripes of stripes, perhaps inspired by all the colour-combo testing that @meghanaf has been up to with all the shades of Yoth Best Friend. All these approaches not only add great customising options, they are really smart choices for using the yarn you have stashed. On this note, there’s a lovely one knitted by @knitcola, using an ombré of oddments. Madelene of @stickkontakt has knitted hers in fine linen, which makes it gloriously see-through.

As for the i-cord edgings, some have honoured the striped i-cord and made it pop even more (@emmaknitsthings and @fillyourknits), while some have gone with a plain single colour (@bmid.ltd, @frau.schaefer, @britt.schmeising, @sunnelite, and @josephineandtheseeds). It might have been for a different project, but I don’t think I was dreaming that I’ve seen one that uses a variegated yarn for the i-cord…

All those options have made me realise I should stop being awkward/shy/slow and just share the video I recorded while I was finishing the Tarmac Tank I knitted for myself (actually, it’s a team-knit between my mother and I, but I go into that in the video). The video is just me sitting on my couch, in my living room, talking it through, before I move to my kitchen table to give a close-up of how I work the stitches. It’s not slick, it’s not pro, but there’s plenty of info being shared. And I especially did it because there’s not much out there on striped i-cord.

I’ve split it into two parts, because, well, I’m not concise and it got LONG.

Tarmac Tank: Part One (Construction) is comparatively short, and gives an overview of the construction of the whole tank. We all learn in different ways, and some knitters might appreciate me waving the tank around and talking through what happens where, as an addition to the clear written instructions you’ll find in PomPom Quarterly.

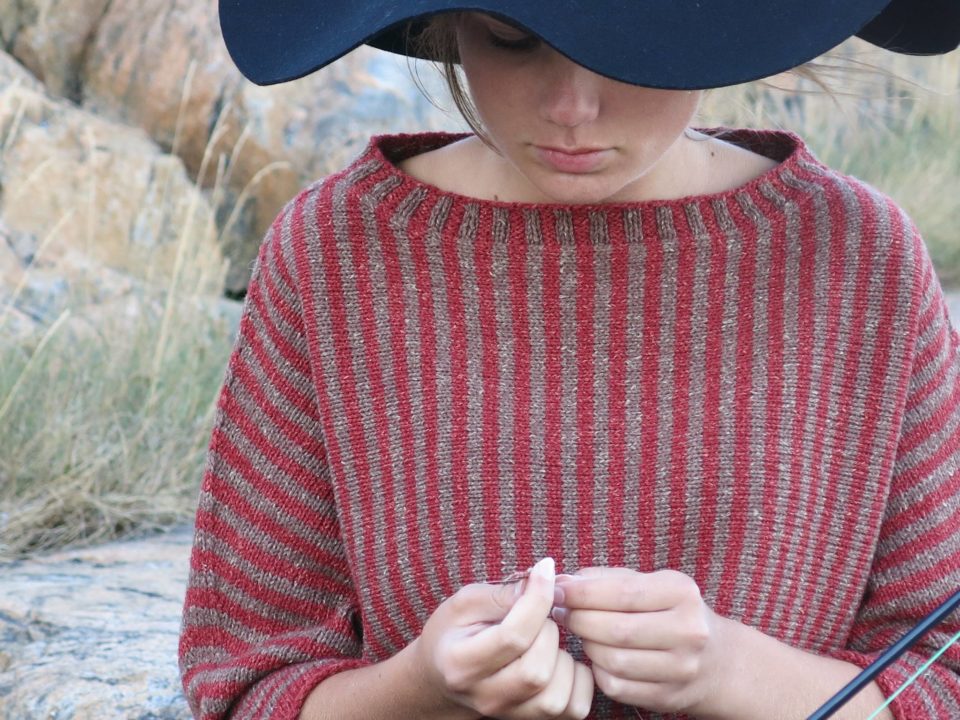
The single row/round stripes can be worked easily without leaving a ton of ends to weave in, if you simply slide your knitting down to the other end of your circular needles or DPNs (double pointed needles).

The eyelets travel down the front and back of the Tarmac Tank in a straight line, because the eyelet increases are worked to different sides of the markers, consistently, so all the extra stitches are added to the zones under the arms. To remind yourself which happens where, it’s useful to use two different types of markers: one that you increase before slipping the marker (say, a red one or a pony) and the other that you increase after slipping the marker (say, a blue one or a kitten). I used little swing tags as markers, so I could write on them to say what happened when.

Tarmac Tank: Part Two (How to Pick Up and Knit + Striped i-cord) is a blow-by-blow guide through how to pick up and knit and then work the striped i-cord cast-off. It’s a useful tutorial for knitters who like a lengthy explanation. Though fairly intuitive to work if you are familiar with knitting i-cord (either as a cast-on, cast-off or simply unattached), striped i-cord isn’t all that common, so I’ve shared how I do it. I’ve come up with ways to mostly conceal the float between the alternating colours when working 4-row stripes. I work the i-cord over 4 stitches, whereas the pattern as published in PomPom Quarterly uses just 3 stitches. Both work, but I prefer the slightly bulkier edge that 4 stitches give.

I use my shortest length DPNs when I knit an i-cord cast-off, and I show how I do that. Using the shorties (also great for knitting fingers on gloves) avoids needing to transfer stitches every row/round, which you need to if you are simply using the other end of your circular needle. This makes for slightly more of a juggle between needles in your hands, but once it’s familiar, it means far less transferring of stitches, and feels like a speedier solution.

I also cover how I pick up and knit, to make a neater edge, by picking up and knitting in every stitch and row, and the adjusting to the required number in the following row/round.

The i-cord edging needs to be worked over a number of stitches that divides by 8. This is useful to know if you want to make the top longer/shorter – just keep/stop increasing and working as set until you have reached a length you like and then make sure the number of stitches can be divided by 8. If your total remaining stitches divide by 8, you are good to go for striped i-cord (if you are using plain i-cord, you can stop whenever you want). This is also useful to remember if you want to adjust the number of stitches around the neckline or armholes.

Somewhere along the line this got confused in the published pattern in Pom Pom, so you’ll find errata for sizes 1, 2 and 3 on the Pom Pom Quarterly Errata Page for Issue 25 for the final round before you work the i-cord. The solution given there, to increase evenly 4 times around a final round, was chosen because it works well without changing the measurements of the top and adding more instructions. Personally I would stop knitting after 20 (21, 22,23, 24, 25) times for 280 (296, 312, 328, 344, 360) sts OR continue knitting for 22 (23, 24, 23, 24, 25) times for 288 (304, 320, 328, 344, 360) sts RATHER THAN the printed 21 (22, 23, 23, 24, 25) times for 284 (300, 316, 328, 344, 360) sts. This hasn’t been suggested in the PomPom errata, because it has a knock-on effect to the measurements of the top, and those are more lengthy to change. It’s super intuitive to do when you are knitting, so it’s really nothing to worry about, it’s just frustrating if you don’t catch it, and your striped i-cord doesn’t slot in exactly.

I love this knit and I have been wearing my Tarmac Tank a lot this summer. It’s a lot of simple stocking stitch, but with enough little clever details to satisfy and tickle the brains of the cerebral knitters amongst us. And seriously, striped i-cord – I could put it on everything!

And, before anyone asks, no, the pattern isn’t available as a single pattern outside of PomPom Quarterly number 25 until next summer (edit Nov 2019: it is available now though: HERE). The top I am wearing in the video is made by Marilla Walker from her Maya Collection of sewing patterns. The marbled leggings I got in 2012 from Diana Reynolds in Sydney. She used to make them for sale in her Etsy shop, Gallery Diana. The photographs of the gorgeous model, Kandia (@kandianzinga) were taken by photographer Laura Morsman (@lauramorsmanphotography) for PomPom Quarterly and I have used them with their kind permission.

Posted on

APPLES for UNICORNS

This weekend is the LA County Yarn Crawl and this pattern is the fruits of collaboration with Gather, a magical little yarn store in the very heart of Down Town Los Angeles in the sunny land of California. You can find it nestled in an upstairs corner of The Last Bookstore, which has a tunnel built out of books and a large fantasy section. Basically it’s just the sort of place you’d expect to find a unicorn on vacation, except the unicorn in this scenario refers only to the tails of the Tosh variety.

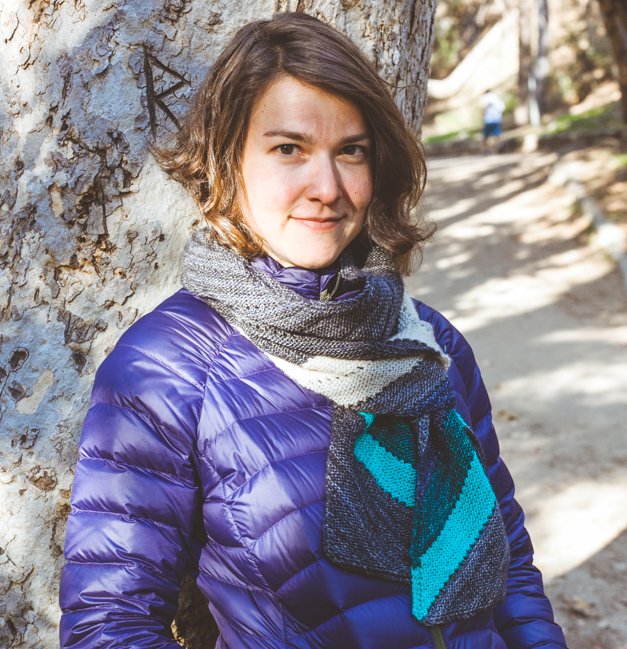
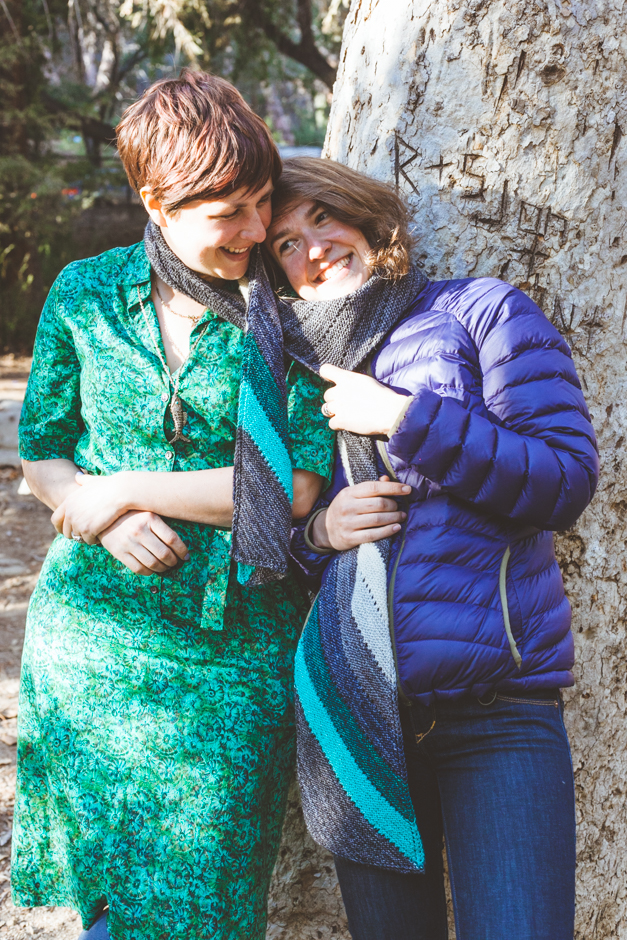
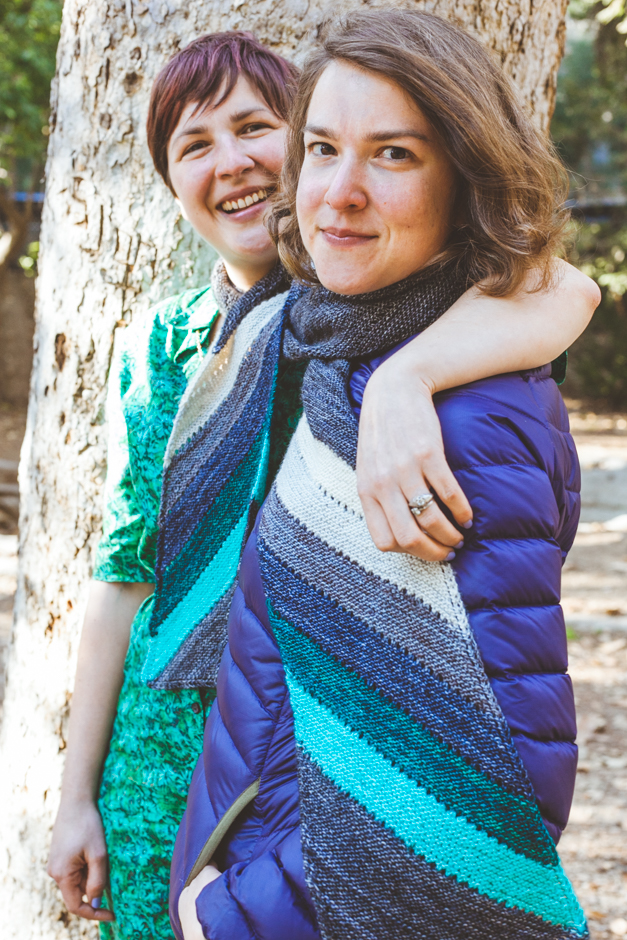
The long (long enough to wrap around my sister and I), bias knit, garter stitch, diagonally striped scarf is a riff on my Diagonapples pattern some knitters might be familiar with. Apples for Unicorns has a slightly more forgiving number of stitches per row: 25% less and a WHOLE lot less ends to sew in as it is specially designed to utilise one full skein of Tosh Merino Light and your choice of 6 (or more!) Unicorn Tails; hence the name, Apples for Unicorns.

Basically, it’s the very pinnacle of comfort knitting. Lots of garter stitch and enough little points of interest to keep you engaged. Once you have increased to the main section of the pattern, you knit along on a comfortable bias, with eyelets every now and then to keep you incentivised to do ‘just a little bit more’. The placement of these picot rows add an element of functional beauty by disguising the change of colour between stripes to make the scarf completely reversible.The majority of this project doesn’t require close counting, which makes it a good project to do while having epic chats (such as at the cosy knit night at Gather). Though simple, it is quite striking and when you are in your stride it can prove addictive. The theory of the pattern is well explained and extensive notes will give you all the tips I’ve gathered while knitting many a bias scarf.

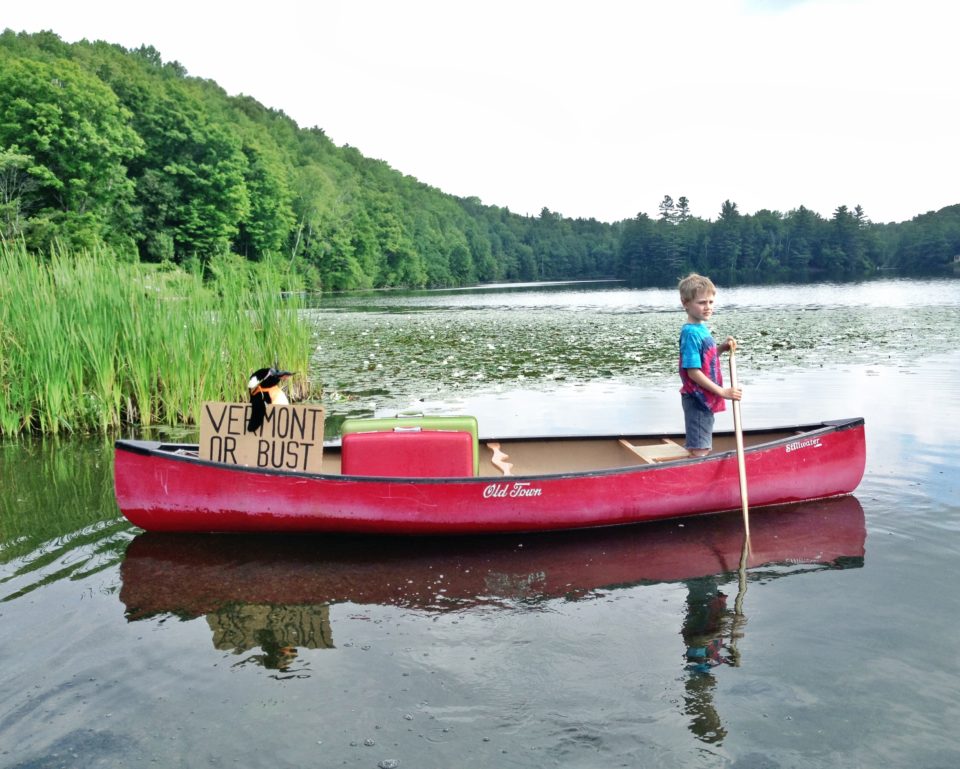
And now for a little more magic, you see, there are lovely overlapping people in this story. The first owner of Gather was Evi T’Bolt. It was under her invitation that I first taught there. She’s a honey-coloured force of nature. You’ll see her name appearing as the photographer of the images you see here and in the patterns. The ownership of Gather has now been passed on to Tifanee Taylor. The funny thing is, beyond the yarnie connection, Tifanee and I also have a second photographer connection in the form of E.J Rose, whose name you may recognise as the originator of the photo essay The Adventures of Pengwee and The Boy in my Penguin: a Knit Collection book or as @bigdaddylonewolf on instagram. Such as the one pictured below.

Erica and Tifanee have been friends for many years – before Tifanee moved to LA and they were both on the other side of the USA. That connection is just another thing that makes the creative circle around Gather magical, as if the ‘gather’ refers to bringing good folks together, as well as beautiful yarn. I look forward to visiting every time I am in LA, which is fairly regularly (given the long distance), due to the fact my sister (who is in the photos) and my in-laws live there.

This weekend is the LA County Yarn Crawl (6 to 9 April, 2017) which seemed like the perfect time to make sure this pattern was out in the world. Also, I know Tifanee is flush with Unicorn Tails and that’s a good thing, because that Madeline Tosh can be hard to track down because she is so popular! I wish I could drop in on Gather to say hello to Tifanee and Danielle (who knitted the sample you see here), stroke the colours of yarn and talk knitting. And I have a feeling there will be snacks.

You can purchase the pattern here on Ravlery.

Posted on

PENGUIN: Introducing PINGLEWIN & friends

I almost feel like I don’t need to introduce Pinglewin, but I realize you might not have met her yet. If you’re lucky, you might have met one of her friends.

Perhaps, Jacob, who Jeni has made using her handspun from a single fleece.

Or Lady Pennyspotter, who has been on a cruise with her maker Leslie, for whom she was the first toy she’d ever made. You can follow her adventures at #ladypennyspotter

Or Winona, who lives at Fluph with Leona and really likes to be social. (And contrary to what Jacob sometimes says, she is not a runt at all).

Or Kristin’s Pinglewin, who’s getting good and cuddled.

Or Ellinor’s who has gotten to hang out with Kristin’s. (FYI, the blond one is Kristin, not a penguin.)

I can’t wait for them all to meet one day. It would be so dreamy to get to actually all be together and share a glass of wine and maybe something fishy for the birds.

You see, a wonderful gang of test knitters all made their own little penguin and we had a whole lot of lovely communication online. For a brief moment, I thought it’d make a fun Mystery KAL, as there are very distinct sections to the pattern that are a little well, mysterious at times as to how they will link up. I trailed it on a little group and we all decided it was too fun to know it was a penguin to keep it a secret. But hang on a minute, is that a penguin?

Pinglewin_aunatural_web

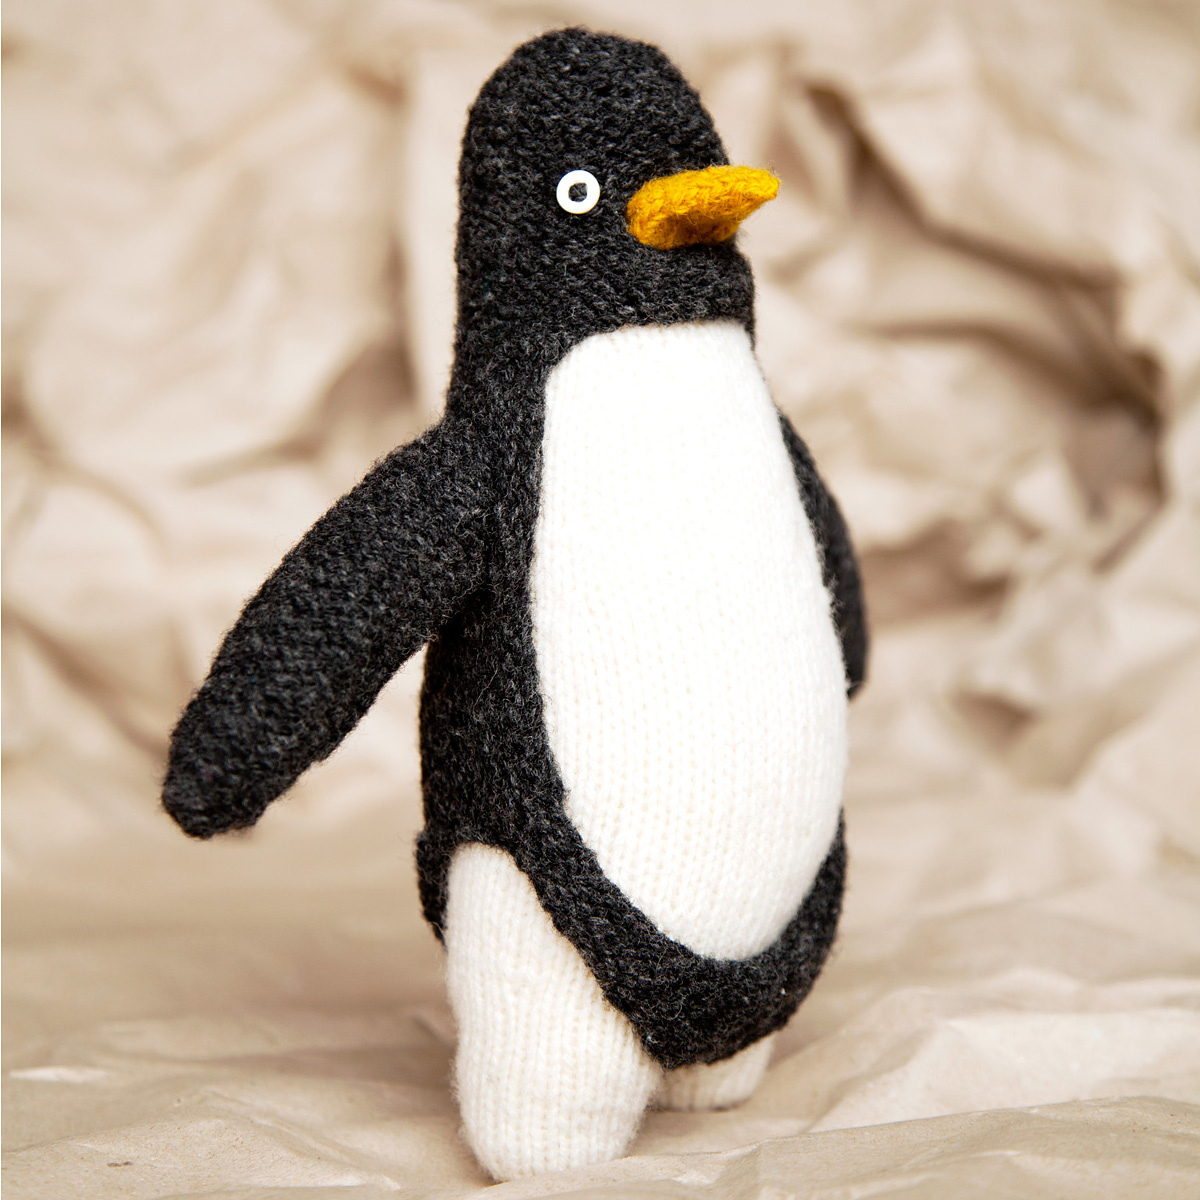
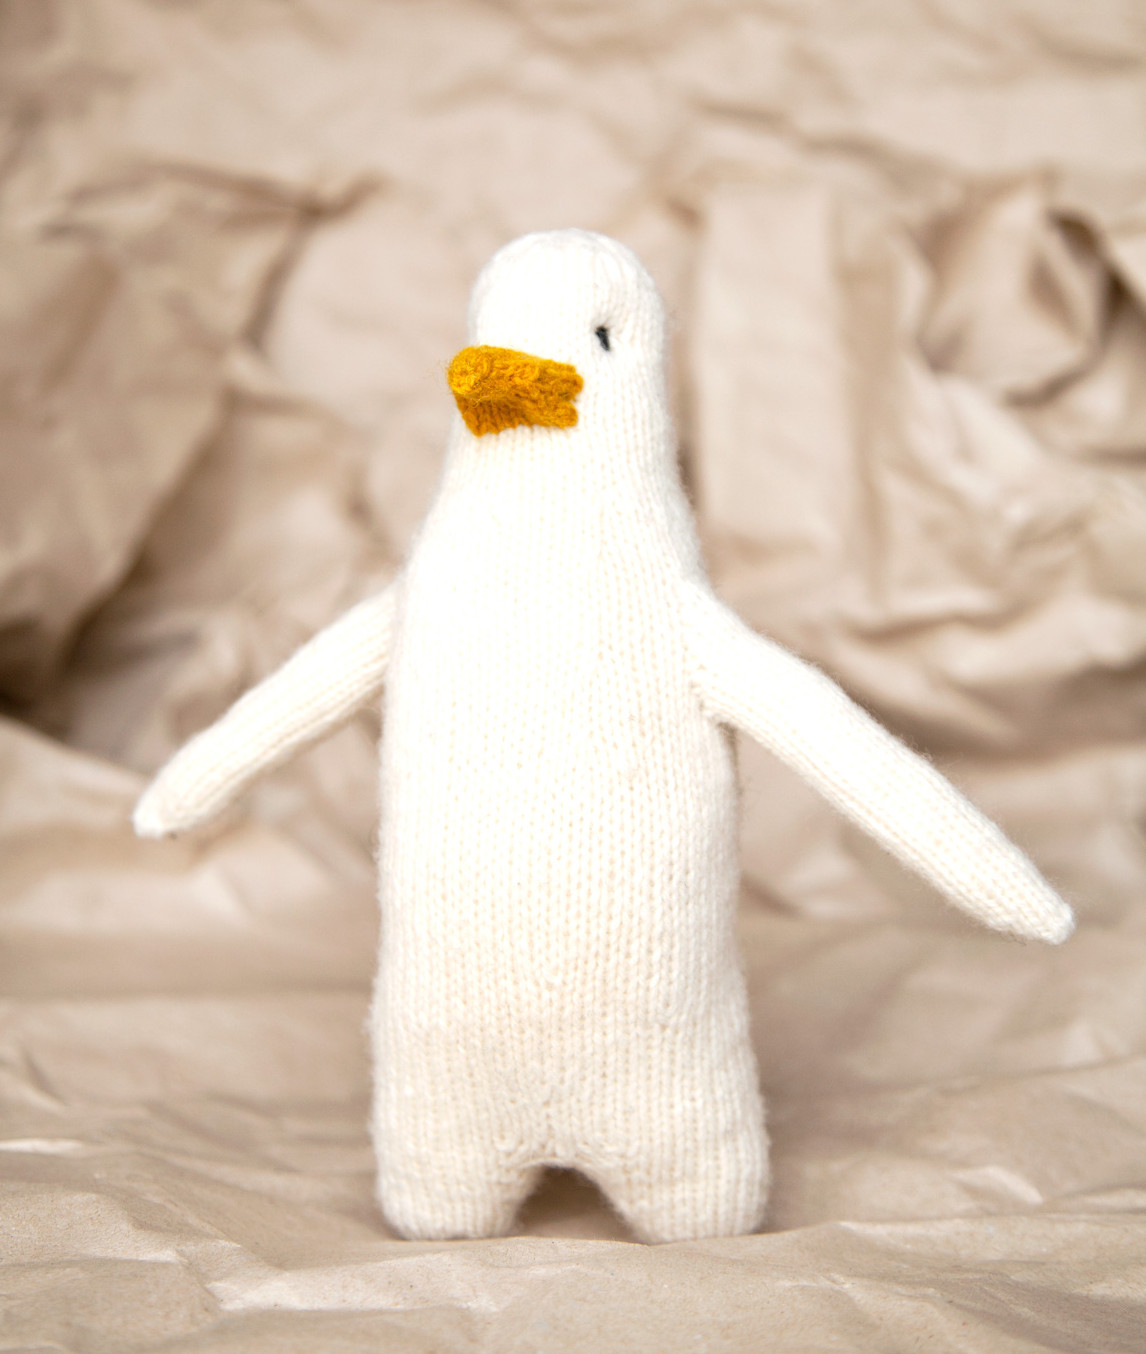
The thing is Pinglewin lost her family in an oil spill. The shock of it turned her permanently white. She doesn’t always fancy dealing with the curiosity of others, who stare at her because she is an all-white penguin, and so she has knitted herself a tuxedo hoodie. Wearing it helps her blend in when she doesn’t feel like answering questions. On other days, depending on her mood, you might see her wearing a pink, chartreus or violet one.

So, firstly you will knit a little single colour penguin in the round on DPNs or circular needles (your choice) and then make her little outfit. The reverse stocking stitch tuxedo hoodie is knitted separately, inside out, so you can knit the whole thing, rather than purl.

Making your own Pinglewin will be a little adventure encompassing a range of techniques you may or may not be familiar with. If you have them down pat, it’s a great opportunity to apply your skills. If they are new to you, you’ll find them a joy to have in your arsenal for next time. All of the techniques come in small doses, so if one takes a little practice or requires a redo, you’re not frogging a sweater or even a socks worth and you’ll have that skill at your disposal for future projects.

As penguins are very social creatures, I love the idea that the Fleece White and Charcoal Snældan 3-Ply comes in the right size skeins to knit yourself two Pinglewins. That way they can keep each other company or one can go live abroad. Or you could split the skein with a friend, so you can each make one. You’ll need a very small oddment of the Viking Gold (approx. 5g required), so I’d suggest borrowing that from another project, like the Rockhopper shawl (only a 1-Ply, so you’d have to use 3 strands to equal a 3-Ply) or the Flower King hat or Antifreeze socks (the weight of Navia Trio is an easy substitute). You can get all the yarns from The Island Wool Company and Get your copy of PENGUIN: A Knit Collection HERE!

I’m so looking forward to seeing your #pinglewinadventure.

Posted on 2 Comments

PENGUIN: Introducing ANTIFREEZE

I sort of couldn’t believe there was only one other pattern called Antifreeze on Ravelry. I was inspired to call these socks Antifreeze because somehow penguins’ feet don’t freeze on all that ice, but you’ll need these socks to help you. I suffer from serious cold feet and spend my winters in two pairs of socks – thin cotton underneath and a thick wool pair on top. I’m not much of a sock knitter, so I wanted to design a pattern that I could return to again and again. I think it’s good to remember that if I like it and it works for me (or don’t like it and it doesn’t work for me) I am probably not alone in that, so I put the pattern in Penguin: a Knit Collection.

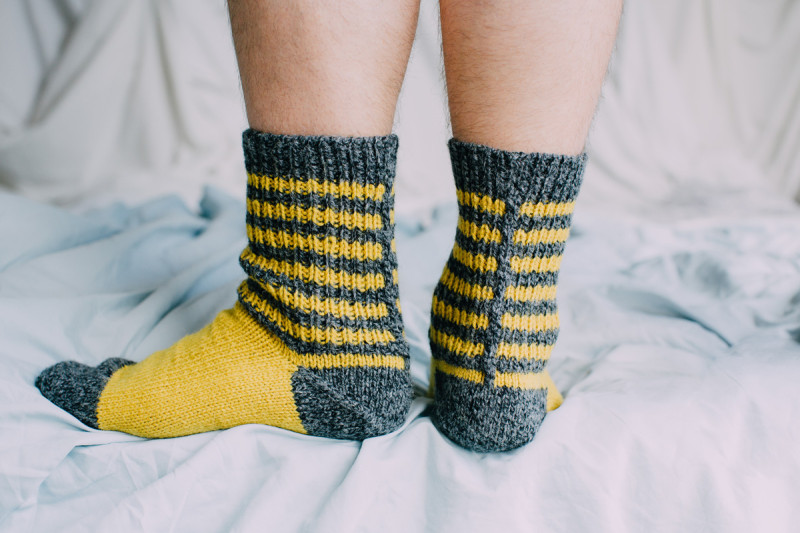
They are basic top-down socks. The trickiest they get is making sure your cast-on is stretchy enough (so your foot can get in) and an afterthought heel (which isn’t tricky at all). You decide if you want to DPN or magic loop them. They’re comparatively quick to make and extra warm as they are knitted in Navia DK weight wool. Navia Sock and Trio are the same weight, but Sock contains a strengthening 20% nylon. I’ve used it for the areas that experience the most wear: heels and toes basically. Trio is used for the cuff and foot of the sock as it comes in a wider range of shades, including the pale pink and bright yellow of penguin feet. I got both from The Island Wool Company.

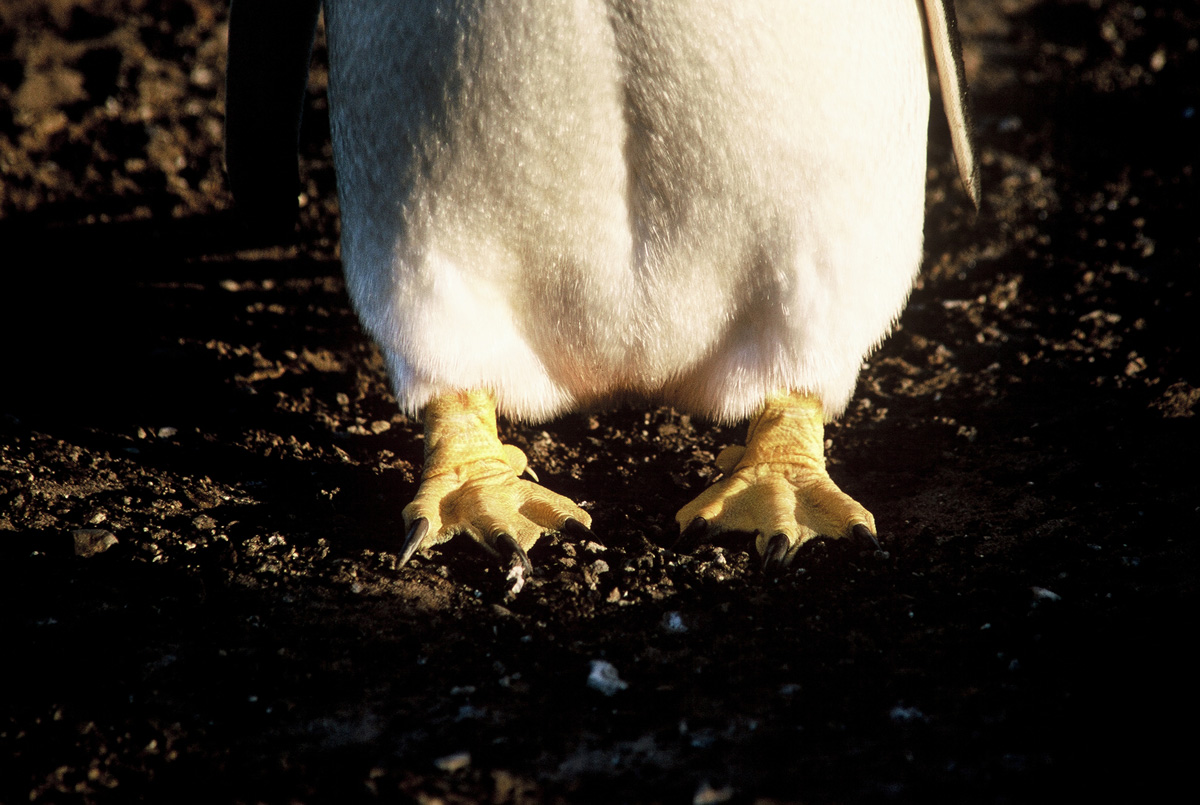
These fine penguin feet are photographed by Chuck Graham. He and Lori let me use some of their amazing photographs of penguins in my book, which really made it for me. They meant I could actually show my inspiration points, not just allude to them.

As for the socks, they are thick and stripy, who could ask for more? To avoid stripes that jog, a vertical ‘seam’ runs down the fully ribbed leg – something I worked out when designing the Humboldt sweater. The first pair I knitted didn’t have the seam down the back. I’d used the jogless stripes technique I picked up from tech-Knitter. If you use that technique, you could ditch the seam, though the seam is the whole fun of these socks. You could also pass up on the stripes altogether.

I specify 2 balls of each colour to play it safe, but certain 
pick ‘n’ mix combos can be done using just a single ball in each colour if you don’t mind playing yarn chicken (or should that be yarn penguin?). To play it slightly safer, you can use 2 balls of yarn A and 1 ball of yarn B for the stripes, heels and toes. Safety wise, 2 balls of each colour is like wearing a helmet, knee pads, elbow pads and teeth guards. (Unless you are tweaking the pattern to make anything bigger or longer…)

The ribbed cuffs are there to help keep the socks in place by giving some more elasticity. The foot is worked in stocking stitch – you wouldn’t want ribbing under your foot. That would be tempting blisters like nobodies business. One of the reasons socks are knitted to a tighter tension (than say sweaters), is to avoid giving you blisters – your delicate footsies won’t be able to discern the individual stitches which might otherwise cause irritation.

The pattern is given in 3 widths, with 3 suggested lengths, which you can mix as you wish. That first test knit pair I made went straight on to Adam’s feet. His feet are so wide as to almost be square. Trips to the shoe shop always end up leaving him in a sad disappointed mood because none of the cool ones fit him. I’d planned to keep that first set as a sample for a bit, but he was so absolutely thrilled and excited to have had a pair of socks made just for him, to fit his flappers, that I didn’t have the heart to make him wait. He uses them all the time now. They are his cosy socks.

We had so much fun modelling these socks for the images in the book. I say we, but really I should probably say I (and the other women present – Elle with her camera and Ania making us look good) had so much fun, but Adam might have suffered just a little. This may have added just a teensy bit to the hilarity of the situation, not to mention when Giovanni (whose bedroom we were shooting in), walked in to find us in our smalls, legs entangled, on his bed. I think we succeeded in coming up with a way to shake up the usual sock pattern poses. And really, in honesty, no partners were harmed in the filming of this book – last night I heard Adam tell his parents about it in a who’d-have-thought-I’d-ever-be-a-sock-model kind of way with a distinct note of pride.

In the introduction to the Antifreeze sock pattern in the book I talk a lot about my English grandmother who was technically neither English or my grandmother. She passed away this summer at a ripe old age, but sadly Alzheimer’s didn’t allow her to enjoy the last bit very much at all. She certainly forgot she used to knit all my winter socks for me, in fact, she forgot she had known how to knit at all. At the onset of her Alzheimer’s, I remember my mum reminding her how to knit each time they got together. The last time I saw her, she flat out refused to believe she knitted the socks I was wearing over a decade before and now heavily darned. It’s been a funny summer – 3 funerals and a cancer scare, balanced out by only one wedding and bookended by babies being born and now a book!

You can find the pattern details for the Antifreeze sock on Ravelry and GET your copy of PENGUIN: A Knit Collection HERE! or soon purchase it from your LYS (you might need to ask them to order it in, if they haven’t already arranged to stock it).

Posted on

PENGUIN: Introducing THE PINGLETTE SET

I sort of think of this set as the wallflower of my Penguin: a Knit Collection book. While the other patterns are busting out some crazy moves in the middle of the dance floor, Pinglette Set it watching from the side lines: the quiet hot chick.

You can magic loop or DPN this baby round the dance floor, it’s up to you. The fun of it is you get to use a lot of different needle sizes. In the book, I use this as a moment to reflect on how much we have grown and how far we have come during this current knitting renaissance. Just imagine if I’d suggested a hat pattern using 4 sizes of needle a decade ago? Some might still balk, but many of us have them in our quiver of needles and I wanted to provide a good opportunity to get them out. I see it as a total celebration of the fact that this wave of knitting seems to be rolling and rolling with no shore in sight. And that’s truly a reason to get up on the dance floor.

Pinglette_set_1_web

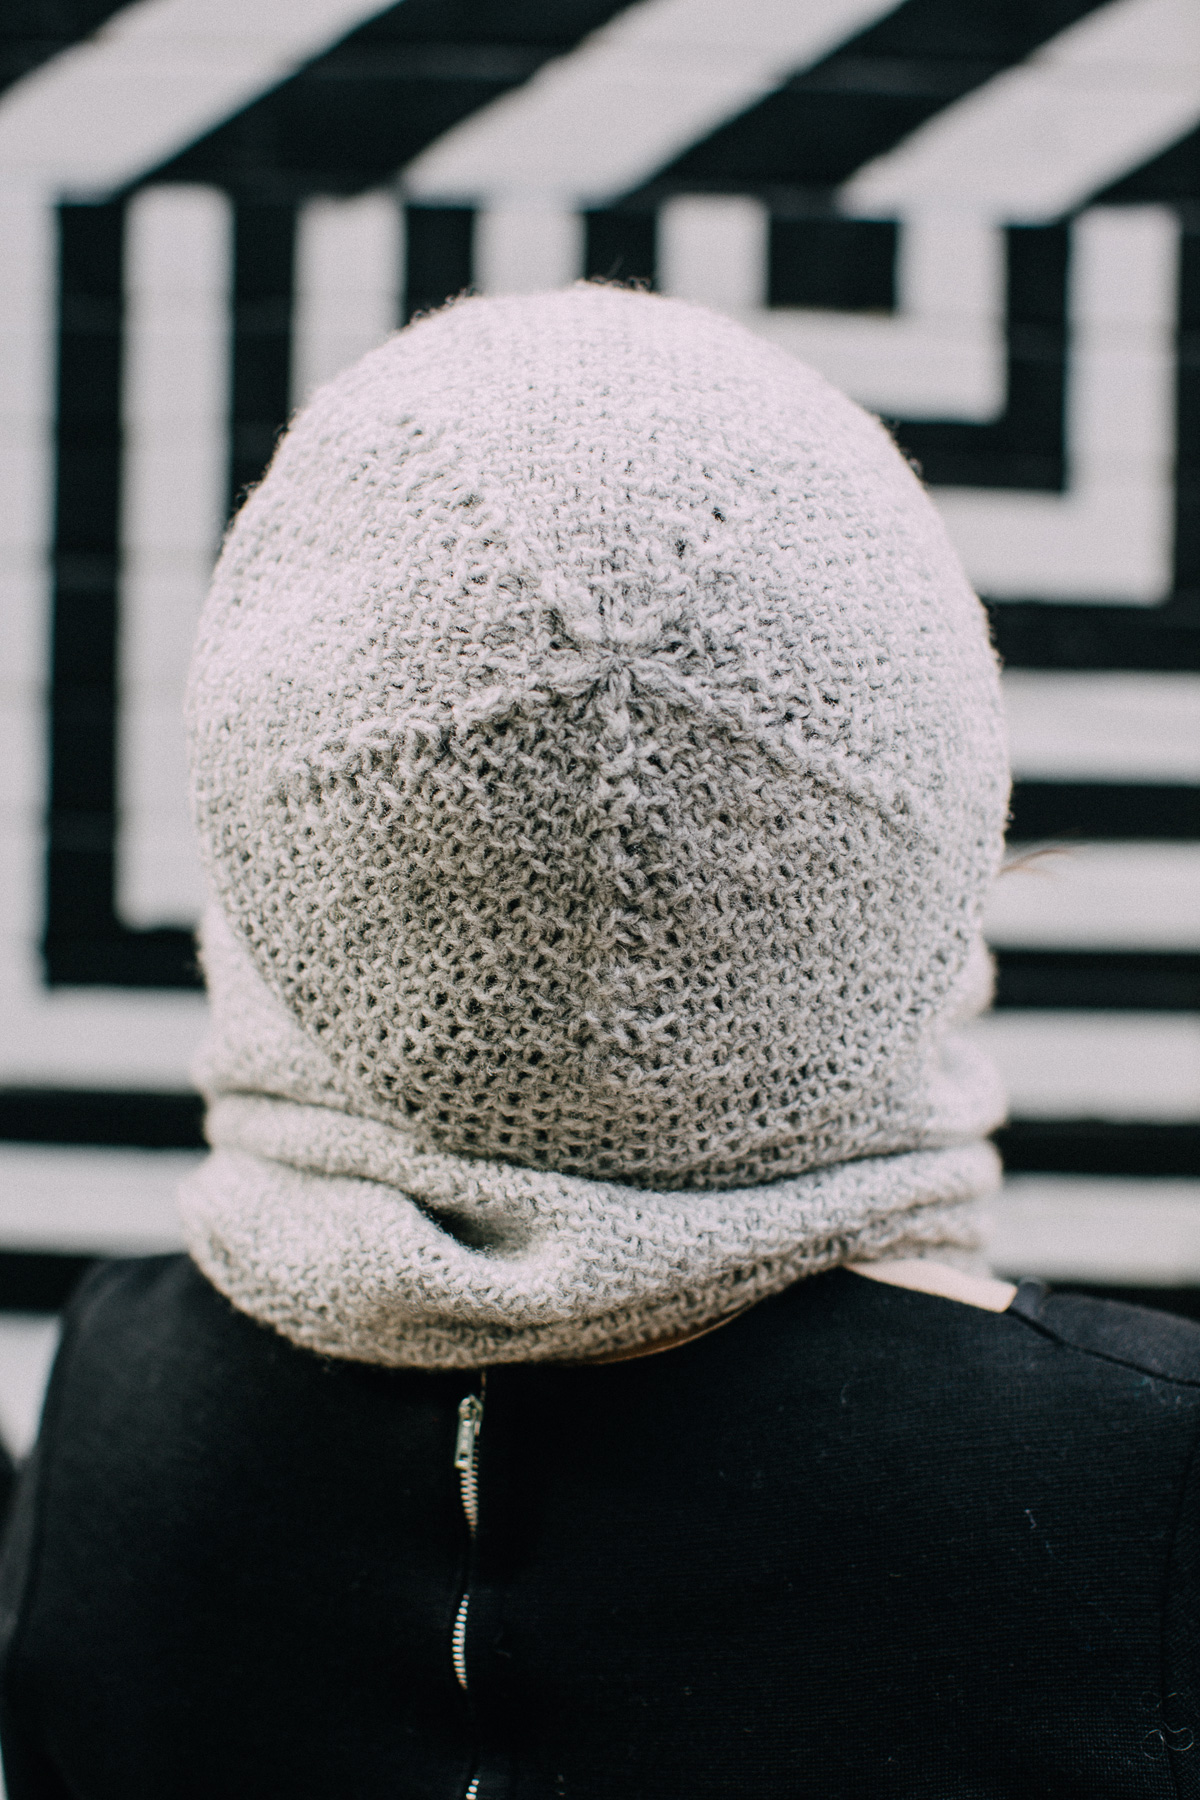
The deep cowl and matching beret are knitted from a single skein of Snældan 2-ply (which is like a 4ply/sport weight in 100% wool which gives you 360m / 394yds per 100g). You will need approximately 35g of yarn for the hat and 65g for the cowl. I was a little torn whether to suggest knitting the beret or the cowl first. If you knit the cowl first, it will allow you to get the rhythm of the stitch down, before you need to work decreases in it, BUT then you wouldn’t be able to engage in the utmost satisfaction of knitting the cowl as long as you can until you have just enough yarn left to cast off, which you can only do if you have already knitted the beret.

There’s something really supple and springy about the stitch/tension/yarn combo that is just dreamy and quite unexpected and it feels really appropriate that the shade of grey is called, Cloud. It’s one of the joys of Snældan yarn that it comes in 5 natural, undyed greys. You can get them all from The Island Wool Company. Both beret and cowl are fully reversible if you are neat about how you sew in the two ends you’ll have for each (one from casting-on, the other from casting-off). I highly recommend spit-splicing if you come across an unexpected knot in your yarn or are working from smaller balls/skeins. It’s nicest to not have any unnecessary ends poking out to disrupt the flow, especially since they reversible. Reversible, not because the stitch is identical on both sides, but because it is interesting on both sides – little ‘v’s and dashes on one side, moss stitch-esque on the other. Held up to the light and stretched a little, it looks a bit like honeycomb.

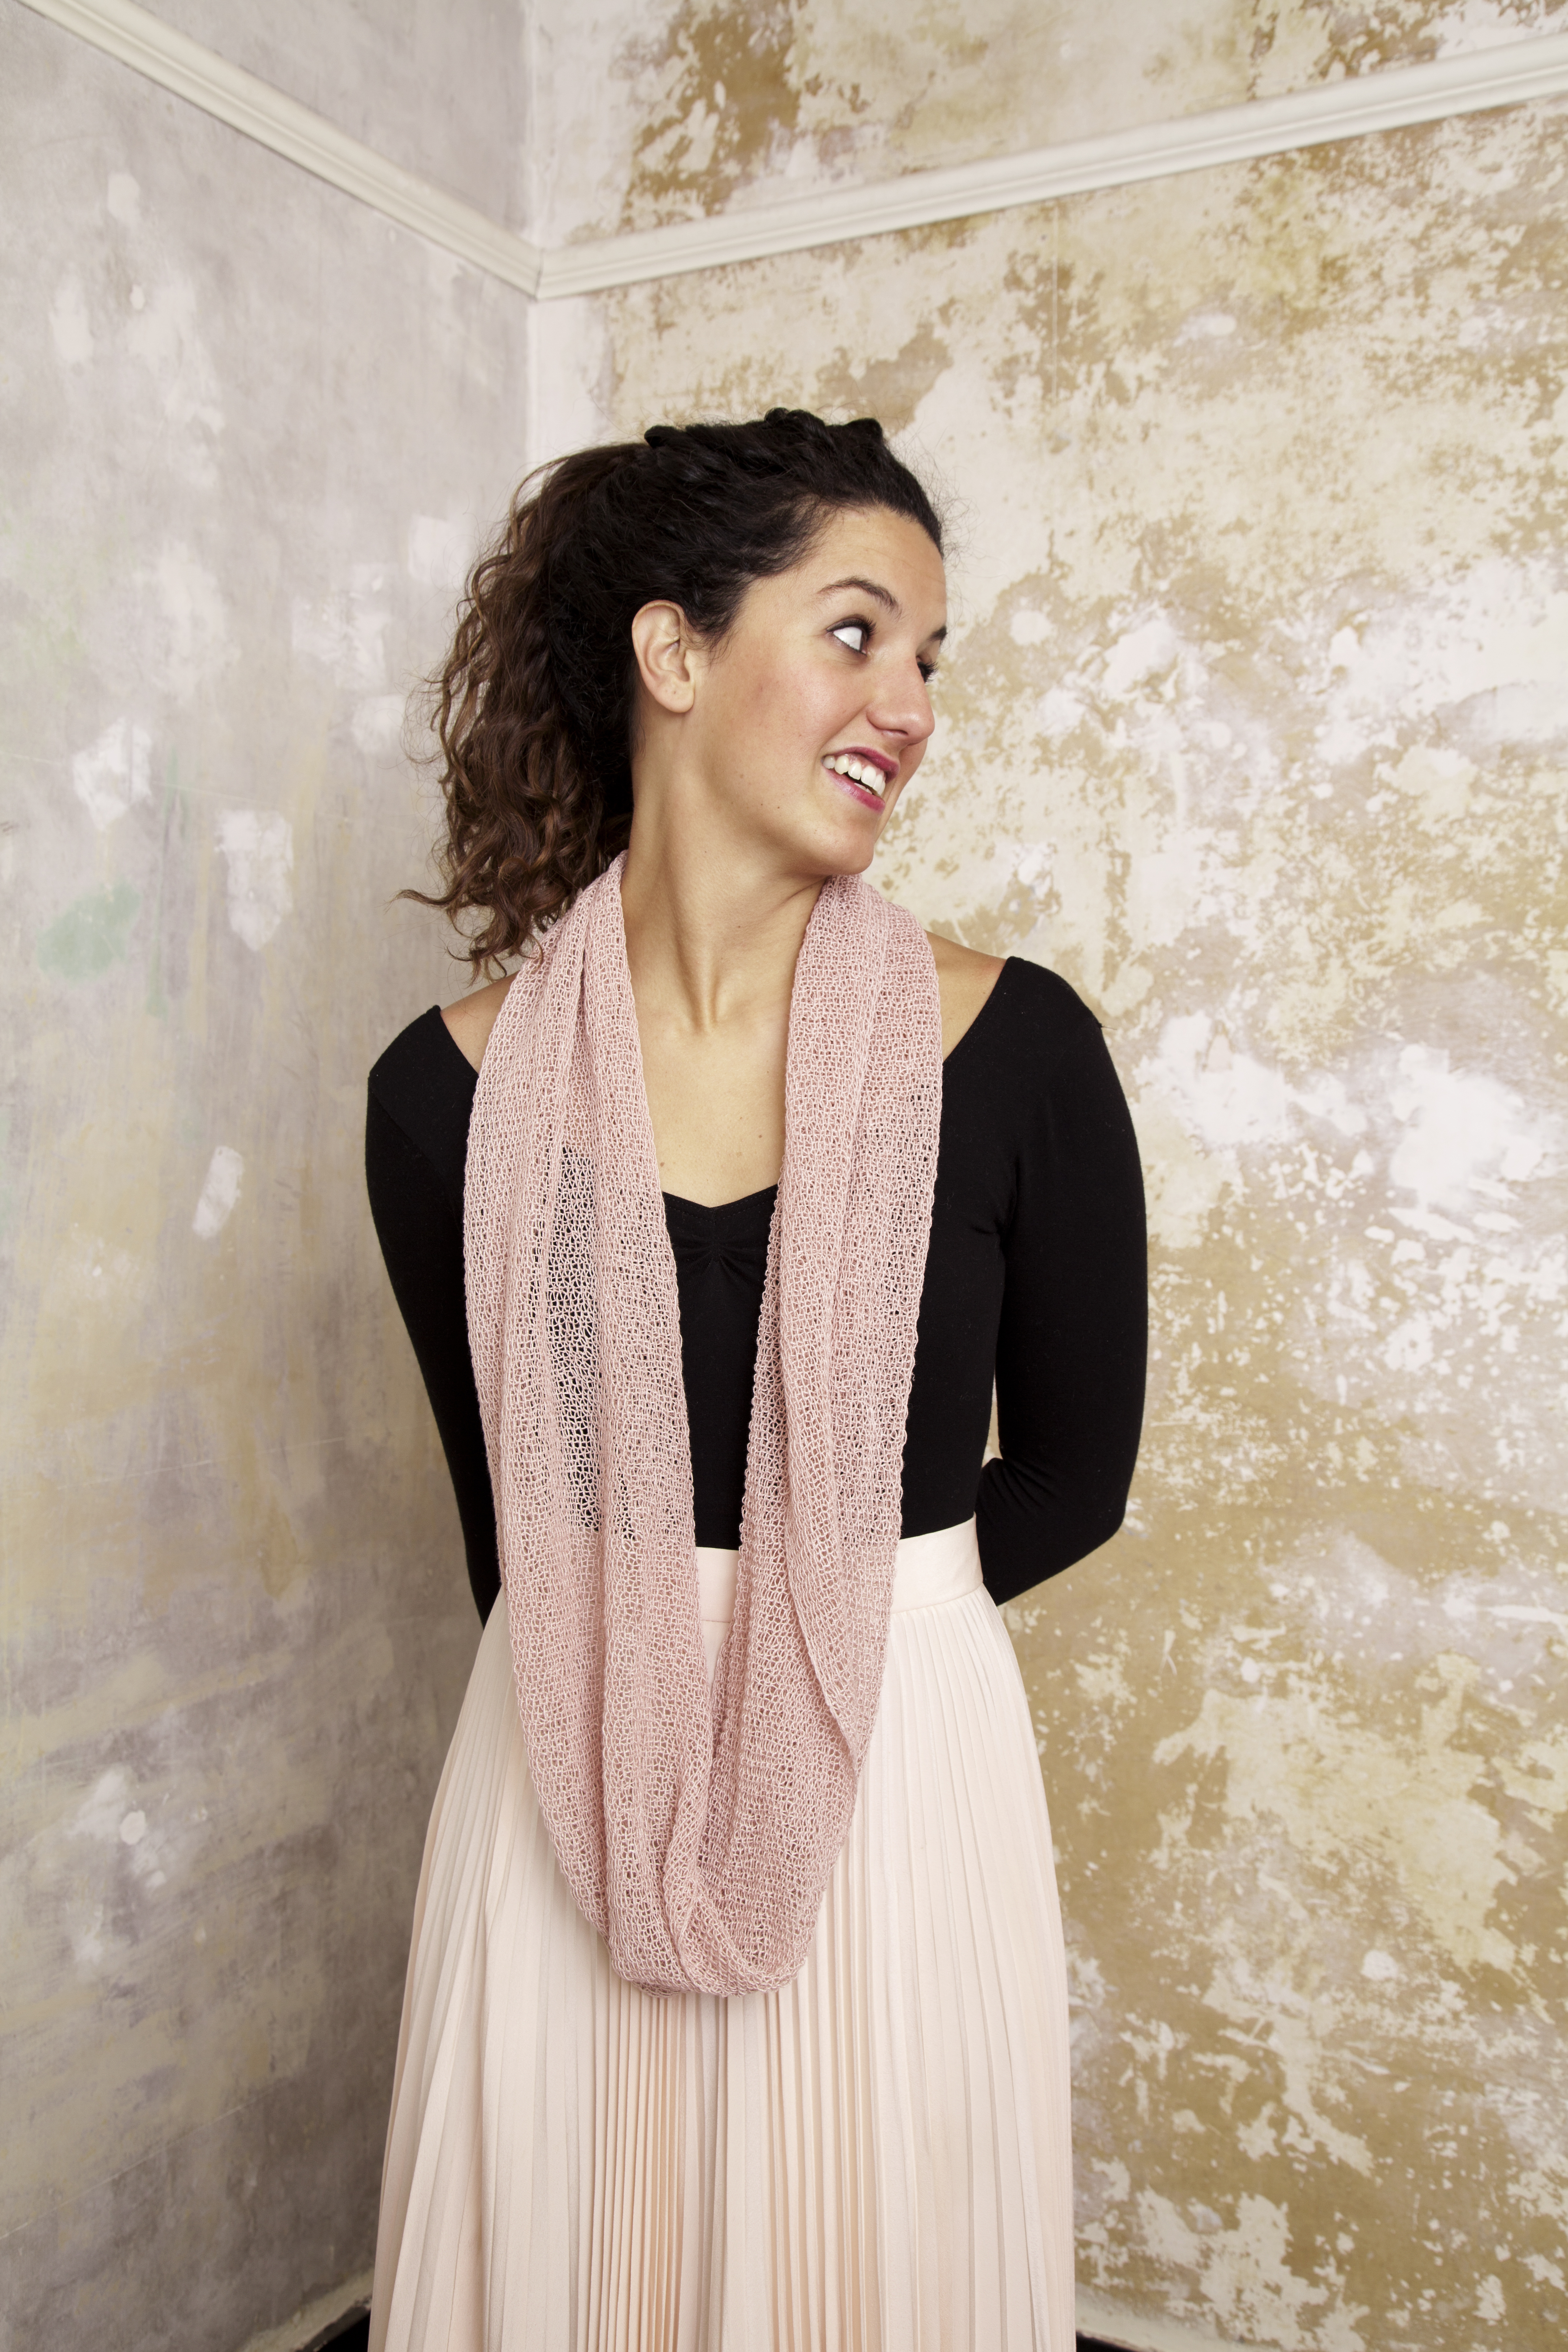
For the beret you start with smaller needles to achieve the density you will be used to seeing Linen Stitch in and work up in needle size to uncharted lace territory (hence I’ve called it Expanded Linen Stitch). You might recognise that it’s a method I’ve used for my Treble Linen Cowl, a cowl with totally different proportions and suggested fibre, because, yes, the Treble Linen is made in linen. It is long, so you can wrap it twice (or even more), whereas the Pinglette Cowl is more like a long funnel.

TL-Unwrapped

Pinglette is my made up word for a baby penguin, because there isn’t a specific one, unlike, say, swans who hatch cygnets and geese hatch goslings, while ducks hatch ducklings. The top of the hat is a bit like a sea urchin, which I bet a penguin wouldn’t turn its beak up at as a snack.

Pinglette_set_back_web

And to end again with my wallflower analogy, the Pinglette Set is photographed against the amazing, geometric, black, white and yellow mural just off Columbia Road on the side of Clutch, a posh chicken joint. Just after I did the photoshoot for the Pinglette Set – they were the last knits to be captured for the book (with a sick child in the car and fading light) – I found the exact same wall being used as a backdrop for another beret, this time in crochet, in another craft manual type book, by another Anna… spookey.

This beret is in Learn to Crochet, Love to Crochet by Anna Wilkinson. You can find the pattern details for my Pinglette Set on Ravelry. Soon you’ll be able to purchase it from your LYS (you might need to ask them to order it in, if they haven’t already arranged to stock it). You can order the book here, from me.

Posted on

PENGUIN: Introducing ROCKHOPPER

I had so much fun working out the unusual construction of this shawl. When I say fun, let me qualify what sort – the sort of fun that comes from trying to puzzle something into existence that isn’t already a standard and isn’t immediately clear that it’s possible. I wanted a shawl with a jagged edge in a different colour that intersected with stripes travelling at a different angle and I didn’t want to use any sort of stranded colourwork or instarsia.

Rockhopper_shawl_6_web

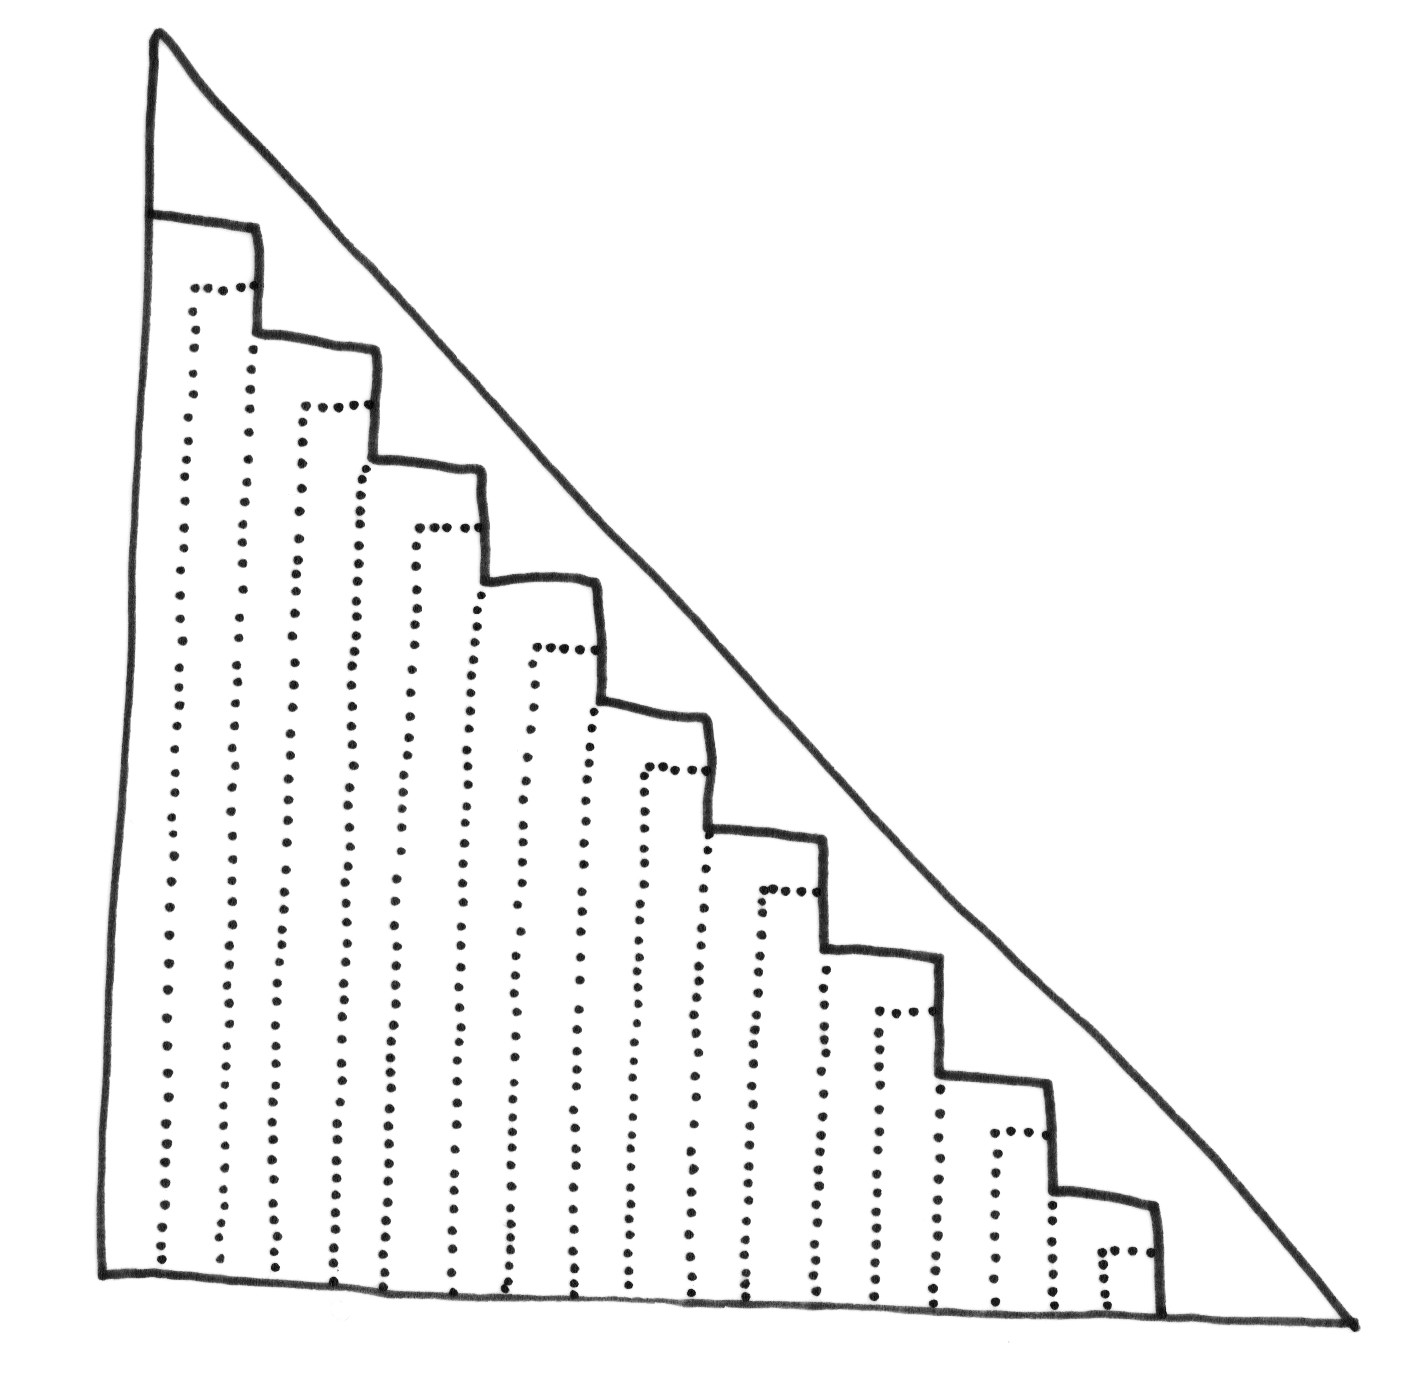
I cut and folded a lot of pieces of paper (recycled envelopes from dismal bank statements, to be precise) to work out how to do it. Folding paper really helps me to understand how I need to manipulate stitches to get a particular shape. The shawl is triangular, made up of a series of descending steps created by mitred corners. The contrast edging hops along them for an extra-bright pop of colour in a zigzag of triangles that fills in the gaps between the steps. The shawl is knitted flat, in loose garter stitch, using three colours. The idea was that the construction would be entertaining to work while the garter stitch is very soothing.

Rockhopper

In what Stephen West has described as my signature move, I’ve placed eyelets at the transition between the two main colours. It’s a trick I picked up while learning machine knitting. This technique perfectly disguises the change between colours, adding interest and making the shawl reversible. I’ve used it in both my Diagonapples (below) and Kermis patterns.

Anna Maltz

The Rockhopper shawl is named after the rockhopper penguin, not the bicycle brand (though I imagine both penguin and bike were named after the fact they can hop between rocks). It comes in one nice big size. The joy of shawls is the flexibility of the yarn and tension you can work them in. You don’t have to work out what size will fit you and they tend to encourage people to throw caution to the wind and cast on without swatching. I’m a bit finicky with my tension and like it just so, even for garter stitch. On this occasion it needed to be quite loose to make it drape nicely and knit up quicker than a dense garter stitch. Garter stitch is always denser than a stocking stitch or lace, because of the way the rows snuggle together.

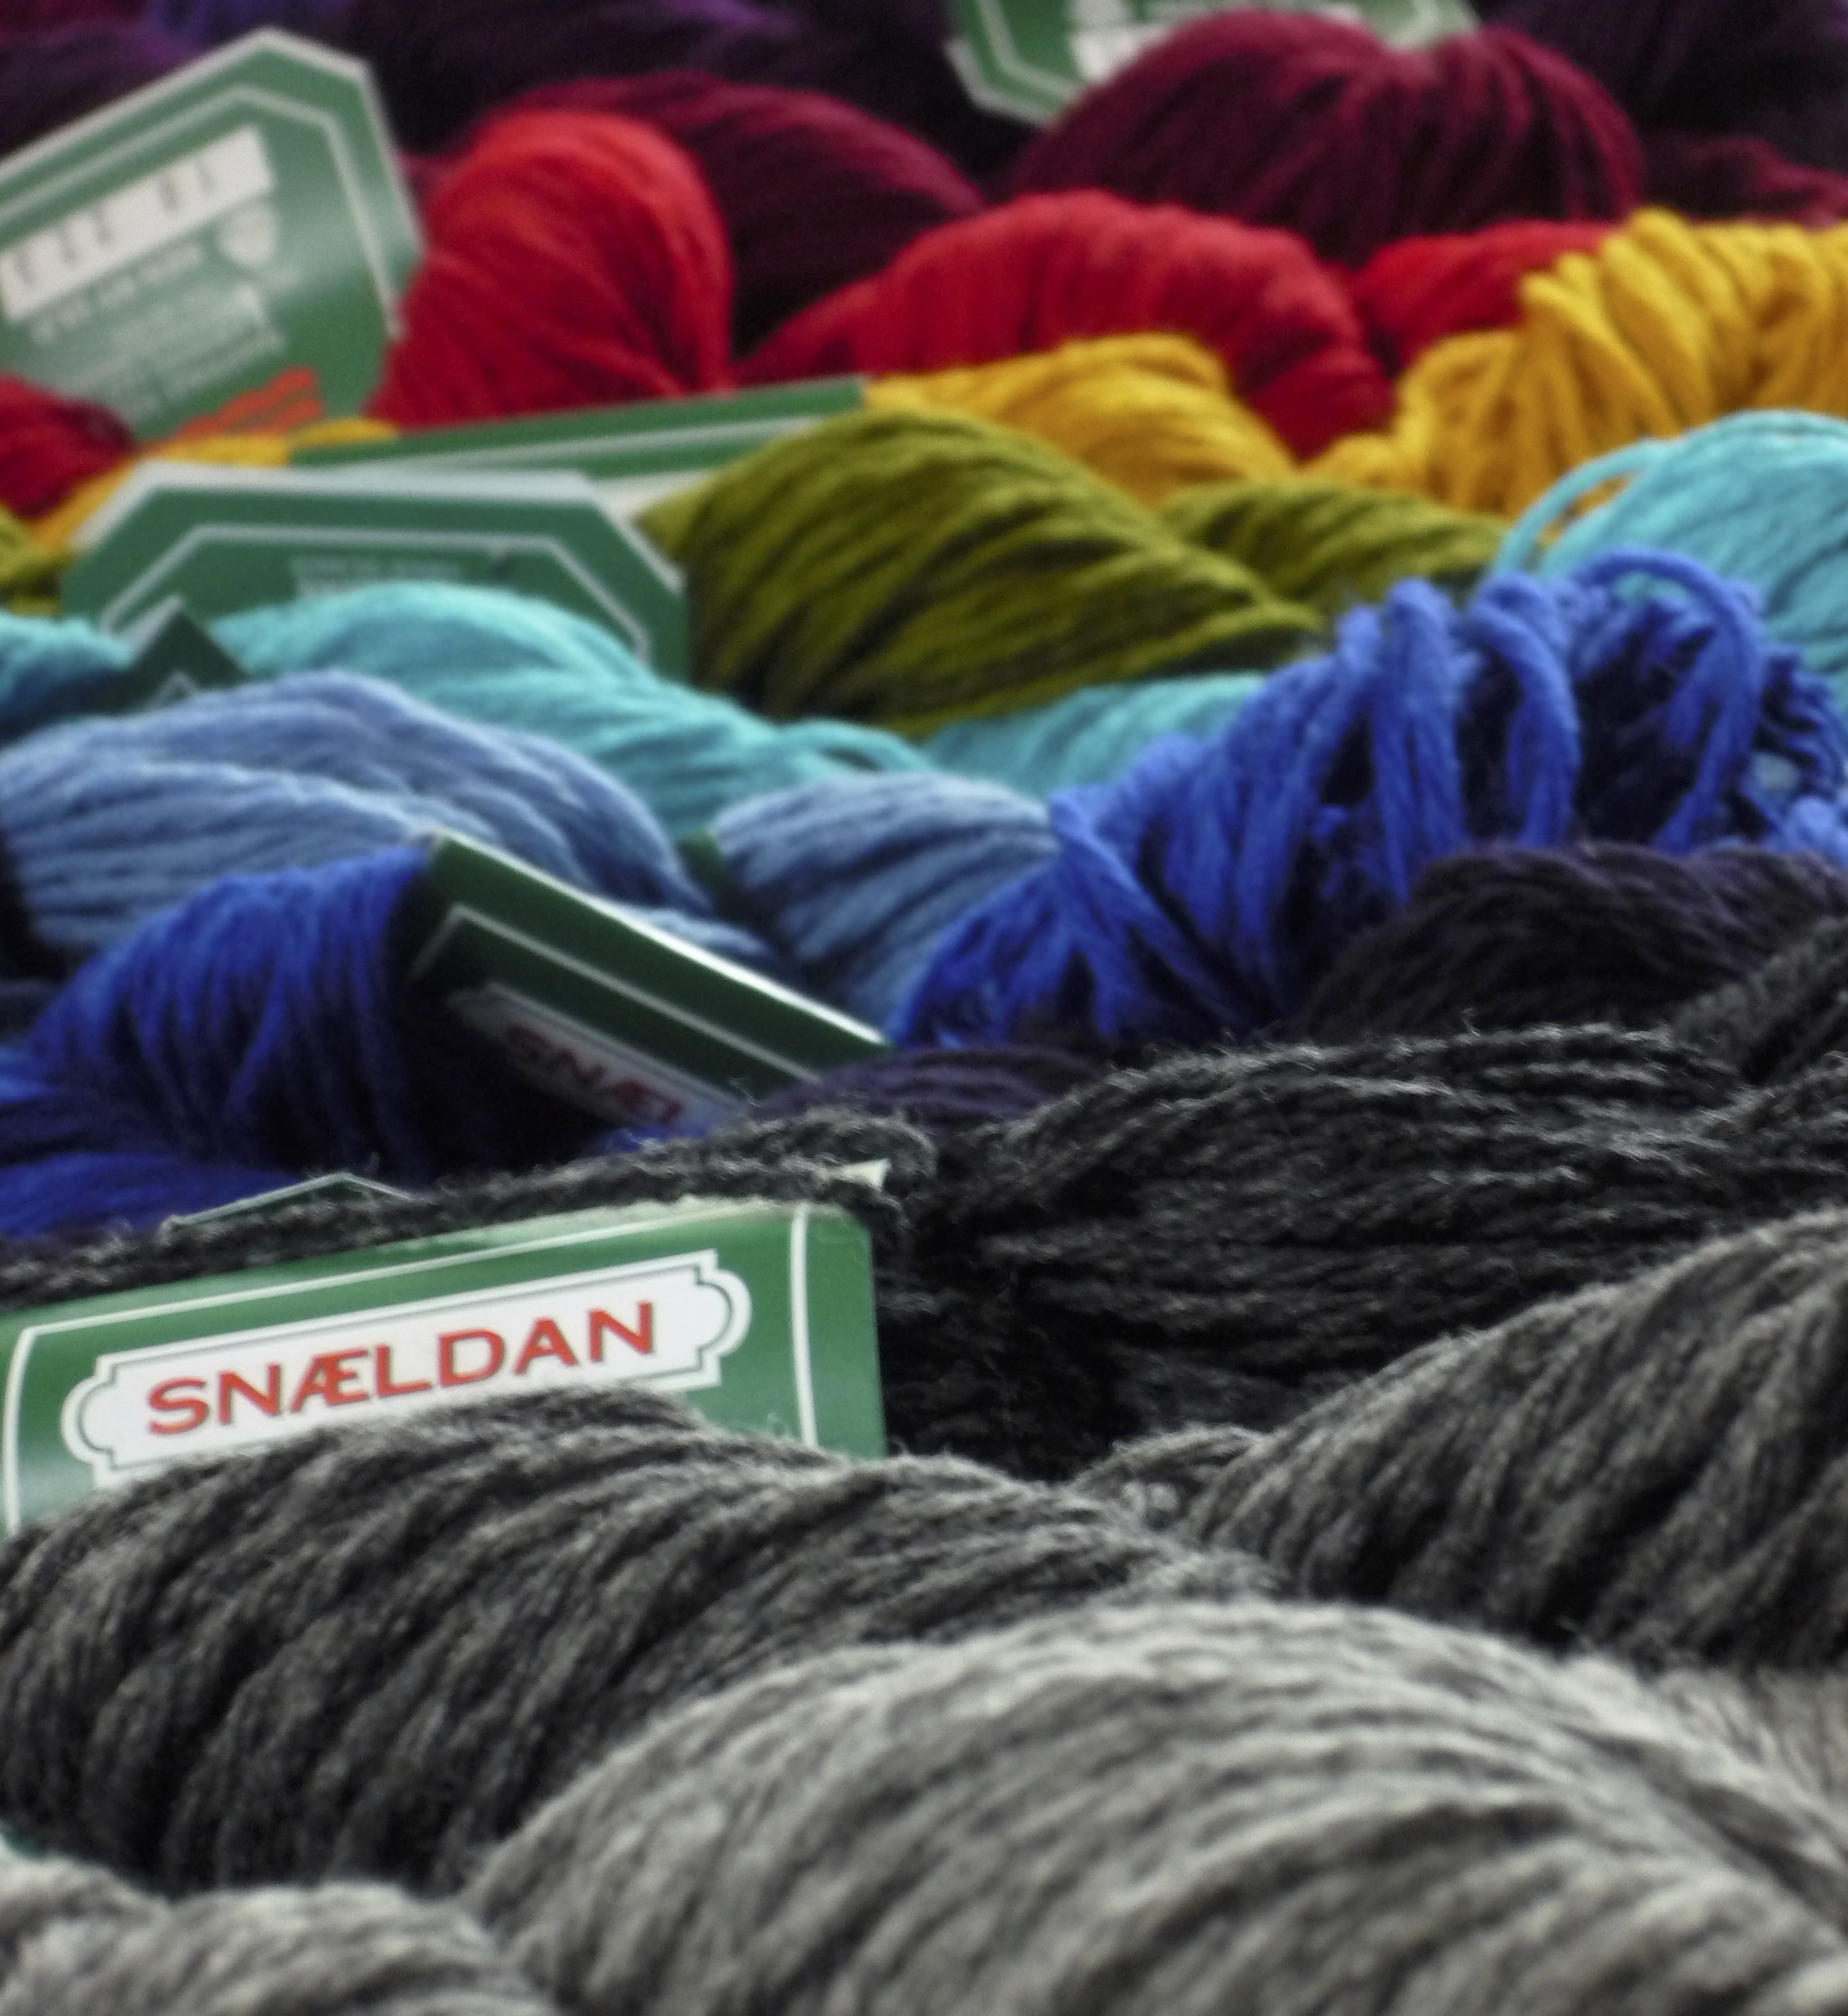
I used 3 colours of Snældan 1-ply for the shawl pictured in the book. That’s equivalent to a laceweight, but not a superfine one. It’s a lovely mix of Faroese and Falkland wool, spun at the one mill on Faroe. I absolutely adore this yarn and am so happy The Island Wool Company stock it in the UK and supported me making this book.

I know you shouldn’t judge a book by its cover and equally it’s wrong to judge a yarn by it’s label, but I love the fact that the Snældan labels have remained virtually unchanged since the company started in the 1940s. I know Karina Westermann is an equally big fan and designed her whole Doggerland collection using it.
Snældan

It’s good to note that the natural colours of Snældan are sold in 100g skeins which gives you 720m / 787yds and dyed colours in 50g skeins (so that gives you half the length). If substituting colours or yarns you will need about 380m / 415yds in colour A (that’s pictured in Charcoal), 350m / 382yds in colour B (pictured in Natural Fleece) and 200m / 219yds in colour C (pictured in Curry).

The Rockhopper shawl is one of 10 other patterns from Penguin: a Knit Collection – my new (and first) book. I’ve tried to pack it as full as possible with photographs, illustrations and stories, all inspired by penguins. You can find the Rockhopper pattern details on Ravelry and soon purchase it from your LYS (you might need to ask them to order it in, if they haven’t already arranged to stock it).

Get your copy of PENGUIN: A Knit Collection HERE!

Posted on

PENGUIN: Introducing TEENGUIN

I’m going to tell you about my Teenguin pattern from Penguin: a Knit Collection today, because it has a party feel to it and today is the day I launch the book with a celebration at Wild & Woolly in Clapton. I’m hoping to see some of you there.

This pattern was the one that had bobbed around in my head for the longest, even before the teenage penguin link became apparent. I love the first version, Indigo Loops, that I made for myself without a pattern and still wear a lot. There were various issues I wanted to address, when it came to making a pattern. Mainly the squareness of the yoke, where the loop section is a bit too long and the fact I knitted the white bottom-half in Wensleydale Longwool, which sadly means I can’t wear it while cooking, cause it sheds like a fancy Persian cat.

I do think the semi-solid indigo hand-dyed merino I bought in Brooklyn years ago worked perfectly for the top half. It was my way of combining a real fancy treat yarn that was a holiday souvenir with something more local and affordable. I really like working elements like that into my patterns. By having two distinctly different zones, you can use two different yarns without where they meet being an issue. This is great either as a way of stash busting or to spread costs – splurge on the shoulder zone and save on the body.

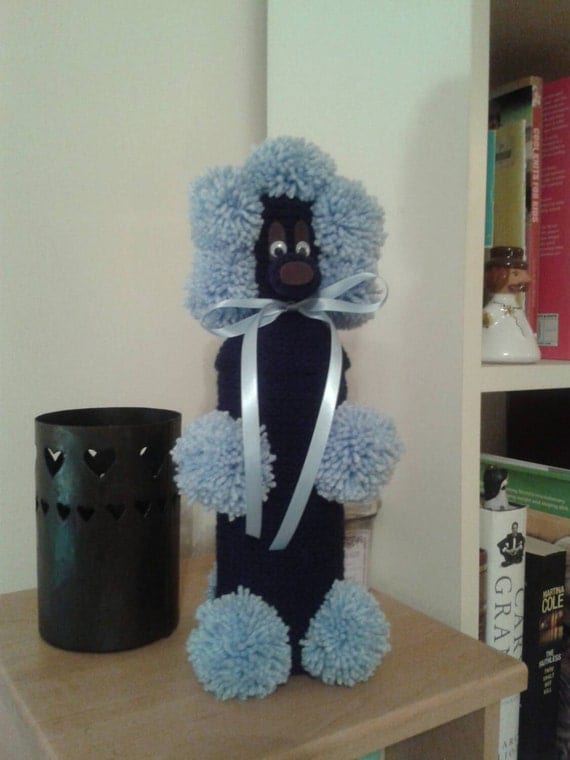
I also felt like I could up the lace game from simple butterfly eyelets to something more grown up. The loops however were there to stay. They’re so fun to do! I’m a really taken with loop stitch and like the challenge of working it into garments without having you look like a 1950s poodle gin bottle cosy or a 1970s muppet.

I love gin poddles, but for gin! This one is made by Tanis Smith, who goes by the moniker of GinPoodle and you can meet its other gin poodle friends on instagram and etsy.

I’ve been having a hard time remembering exactly when the plan to make a collection of penguin patterns solidified, but I think it was when I discovered images of moulting teenage penguins and realised that was the answer to this cardigan. It made the colours fall into place and I could choose a perfect lace stitch that would mimic the the structure of penguin feathers.

Pictures of teenage penguins as they moult from chicks into adulthood ending up being an elegant knitted garment so appeals to me. It feels like the Ugly Duckling story additionally proving that even penguins have an awkward teenage phase. I think the result is totally contemporary, yet vintage feeling. Susan Crawford has, on occasion, referred to this as “my cardigan” when offering encouragement and checking in on the progress of Penguin: a Knit Collection. I’m so excited she has been one of the first people to pre-order the book and I know this is the pattern she is looking forward to knitting.

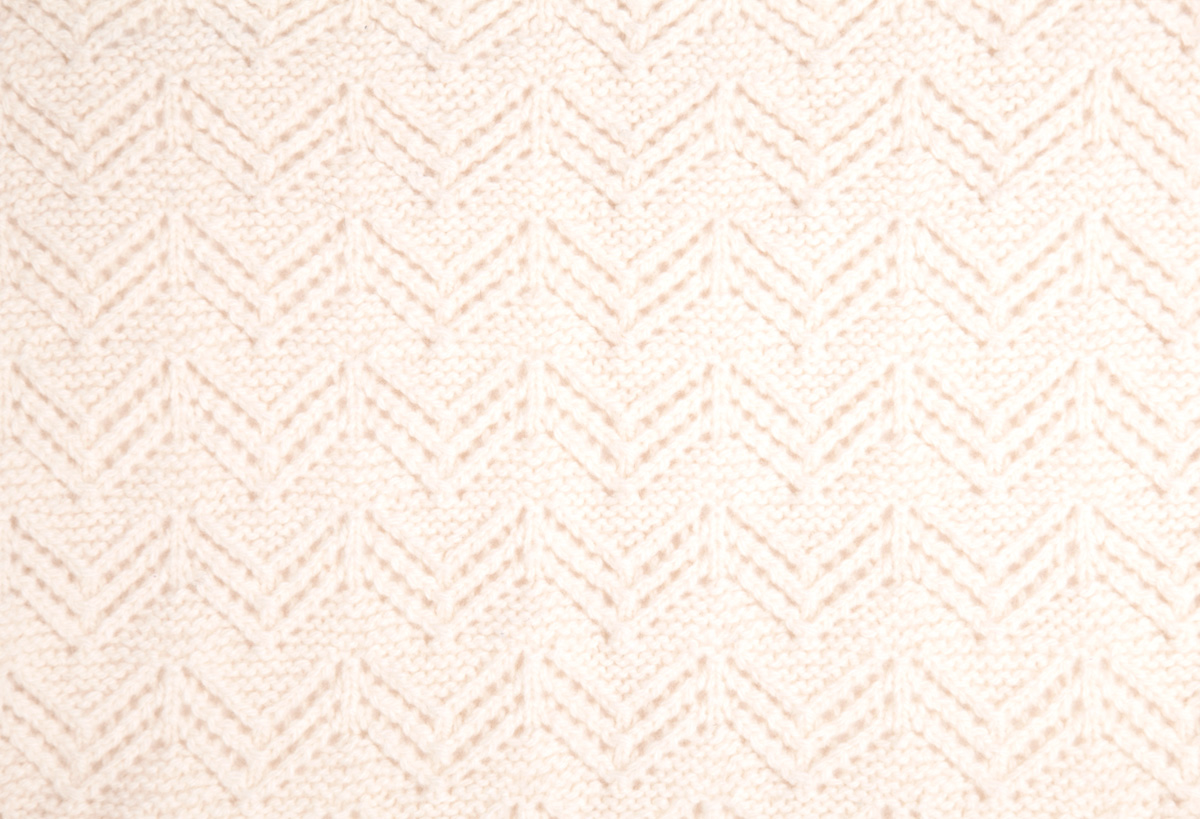
Teenguin is worked in two colours of heavy DK weight yarn, the gorgeous Snældan 3-Ply, which you can get from The Island Wool Company. I think it’s the perfect occasion to use two of the beautiful colours it comes in, perhaps even 2 of the 5 greys in the undyed part of the range, but you could stick with just one. The body and sleeves of this cardigan are worked flat in a lacy chevron stitch incorporating an unusual amount of garter stitch. This means the delicate lines of lace don’t need to be disrupted by ribbed cuffs, as the stitch sits flat of its own accord.

I felt like Kay wrote her recent post to Ann on Mason Dixon Knitting (about working the sleeves of her Monomania cardigan flat rather than in the round as specified) was written for me. Or maybe the flat knitted sleeves of the Teenguin were made for her? I know there has been a mass embrace of the circular needle, but I would encourage people to get out their old straights on occasion, whenever you can really, as I think it’s good to mix things up for your posture and wrists.

Teenguin_cardigan_elbow_web

Teenguin is designed to be worn with zero or slight negative ease (allowing the stretch of the fabric to give the space needed for movement). Belinda Boaden and I had many a good chat about the dispensability of shaping in knitwear. We agreed that for the most part, the stretch of the fabric can provide the shaping you need, or rather, your body provides the shape and the knit will fit to it. If you prefer more ease, go up a size.

I’m thrilled with how this one looks on all sorts of body types. If you really crave bust or waist darts, add them in where your actual bust and waist is, rather than where I, as the designer, think they might be based on my own body and standardised measurements. I miss Belinda so much: she was always filled with constructive critical opinions, humour and care. The book is dedicated to her, in loving memory.

Teenguin_detail_web

You can find the pattern details for Teenguin on Ravelry and soon purchase it from your LYS (you might need to ask them to order it in, if they haven’t already arranged to stock it).

Get your copy of PENGUIN: A Knit Collection HERE!

Posted on 1 Comment

PENGUIN: Introducing FLOWER KING

So yesterday, something very exciting and unexpected happened, Clara Parke’s put Penguin: a Knit Collection on her 2015 Gift List for The Knitter’s Review. Turns out that a penguin was her high-school mascot and I’m her favourite instagrammer – high praise indeed from a woman I have utmost respect and admiration for. That feels momentous enough that it could be the only thing I tell you today, but there are patterns to introduce you to!

I love stranded colourwork and yet it’s not featured highly in my book. Only 2 of the 11 projects in Penguin: a Knit Collection are stranded: the Fledgling mittens and this, the Flower King hat. (Mind you, only 3 patterns are shown in a single colour.) I started the #fairilsefriday hashtag over on Instagram about 2.5 years ago now with a very inclusive and welcoming understanding of what constitutes Fair Isle. Therefore it feels right to share this stranded project today, on a Friday, regardless of the fact it doesn’t feature any remotely traditional Shetland motifs. It is stranded, and to many folks, correct/blasphemous/misguided or not, Fair Isle is still the catch-all term for knitting two colours in the same row. And really, what an honour – that one little island gets to lend its name to a whole approach to knitting that has it’s origins and use spread all over the place!

I think one of the reasons I felt relieved of doing penguin stranded colourwork motifs was thanks to the amazing Mörgasir/Penguins pattern by Linda Konráòsdóttir from Istex and on Ravelry. Can’t beat it for covering a yoke with penguins! Here it is, knitted by my instagram friend, @schvung, who is elajna on Ravelry

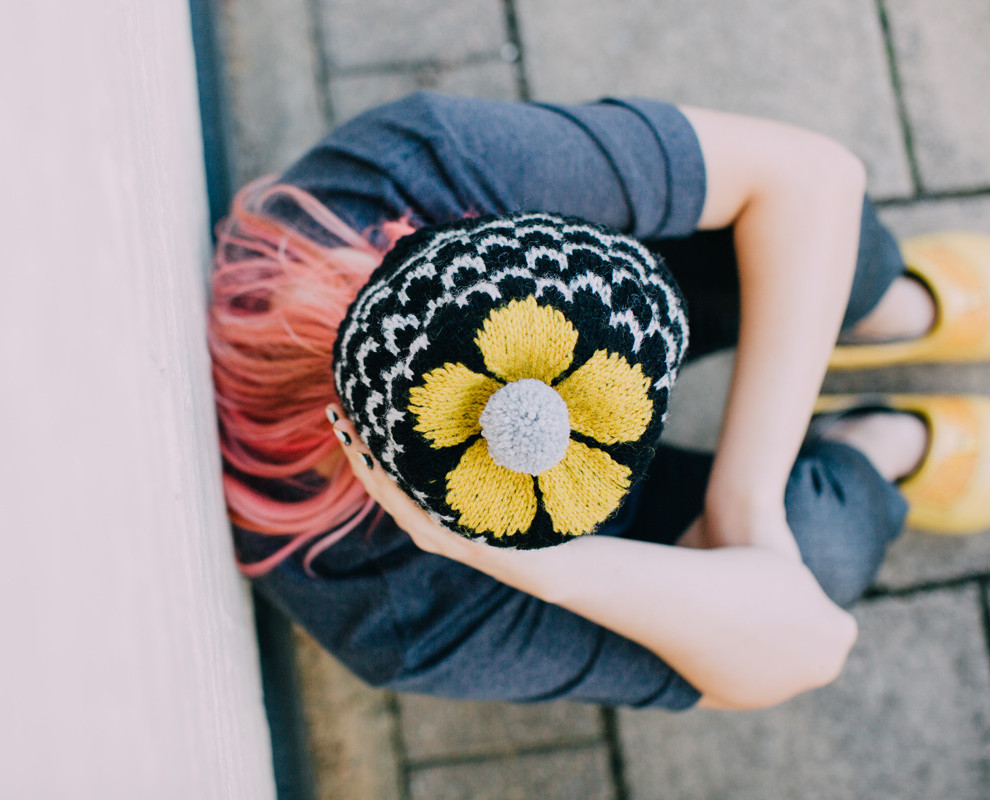
I also hope it’s becoming clear by now, that though united by a deep fascination and appreciation of the penguin, the majority of the patterns in my book do not actually look like one. They were the jumping off point or perhaps more correctly, the diving in point. When I was looking at the king penguin for inspiration, things took on an unexpectedly floral twist. King penguins have what looks like a large yellow inverted petal on each side of their face. In using this shape to form the colourwork patterning on the crown of this hat, I found myself with a flower. This of course means that a pompom was compulsory, as it becomes the heart of the flower ­– a treat for those with an aerial view.

Flowerking_hat_top_webThe hat is worked in the round from the brim up, starting with 1×1 ribbing. The colourwork chart is repeated around the hat 5 times. There are undeniably long floats, so there are tips to advise where and why to manage these. Unlike the other patterns in the book, this hat is given for a single size only – a good middle ground adult head size of 56-58cm / 22-22¾”. Guidance is given for creating different sizes. Changes in the yarn you chose and your tension can make the little tweaks you might need and adding repeats of the colourwork chart can make more dramatic adjustments, as would removing them.

You’ll want 3 colours to knit with and another one for the pompom. All the patterns in the book use Faroese yarns from The Island Wool Company. This hat uses Navia Trio, a Faroese 3-ply yarn that is equivalent to a DK/worsted weight. It’s 100% wool, spun from a mix of Faroese, Shetland and Australian fleeces. You’re looking for a tension of 20 sts x 24 rows = 10cm / 4” over colourworked Stocking Stitch on 4.5mm needles, or whatever needle you need to get that tension.

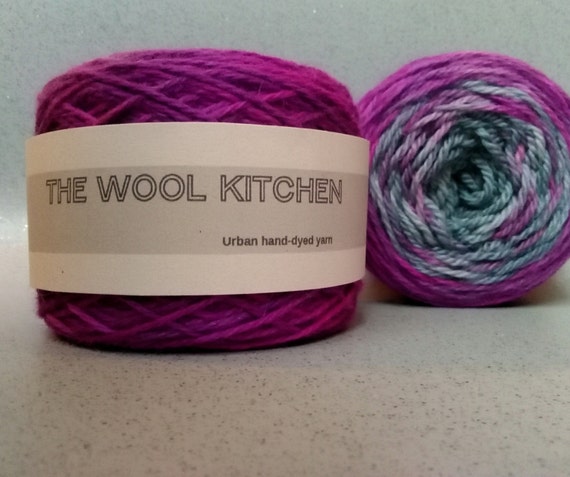
I’m really excited to see this pattern knitted up in more classically floral colours. Maybe a green background with darker green “Vs” and a hot pink flower with a yellow heart. I’m also experiencing a distinct desire to knit one using a specifically ombré yarn to make shaded petals. For example this one, from The Wool Kitchen:

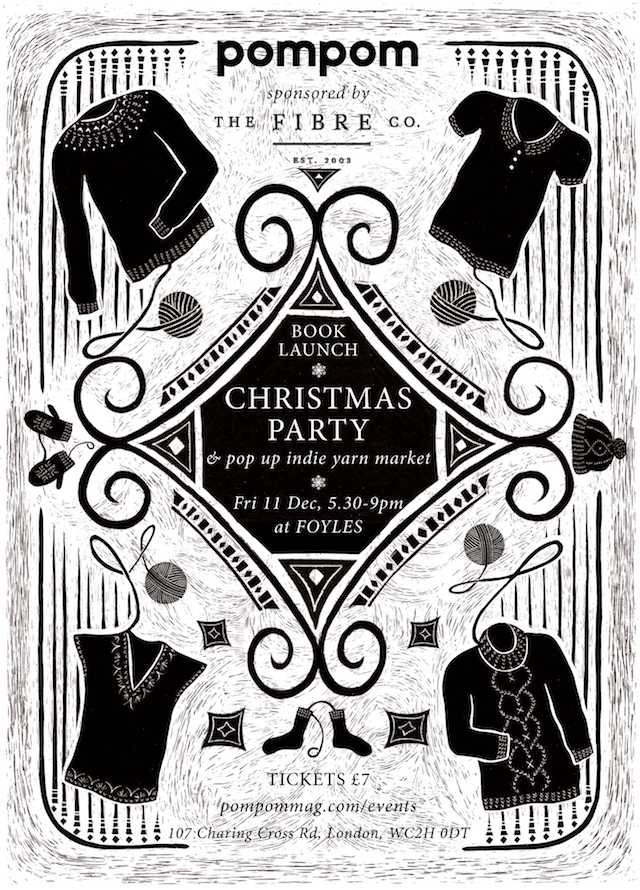
The knitting pattern includes a lengthy section on making successful pompoms, something I couldn’t resist putting in. I am known to wax lyrical about making pompoms. (I do write a regular column for PomPom Quarterly, which, contrary to what the name might suggest, isn’t about making pompoms at all, though they do occasionally appear on the gorgeous knits you will find in there.) Speaking of which, I’ll be signing copies of the book and showing off the samples at the PomPom Xmas party on Friday, 11 December. Clara Parke’s will also be there and I will finally get to meet her in person!

Pom Pom Christmas Party 2015 Flyer Web-1


You can find the Flower King pattern details on Ravelry

Get your copy of PENGUIN: A Knit Collection HERE!.

Posted on

PENGUIN: Introducing ADÉLIE

This hat was inspired by not one, but two types of penguin, the adélie and the chinstrap. The adélie influenced the plain version and the chinstrap, the striped. Chinstrap hat doesn’t have quite the same romance and ring to it. In fact, it would have been a really unappealing name for a hat, no matter how cool a penguin they are, so I settled on Adélie.

The shaping of this hat is based on old-fashioned baby bonnets, but without the forehead peak (which tends to be a tricky look for adults to pull off). Those baby hats were generally knitted flat and this one is knitted in the round, so it has no back seam. Markers are placed at regular intervals to help you keep track of what you are doing and instructions are given row-by-row. In effect, it’s like knitting a large set of chevrons in the round, so that the hat fits just-so.

Knitted all in black, it has something of a Louise Brooks bob about it. I wanted a hat that frames the face and keeps my ears warm. I’d also been on a futile search for a hat that fitted under my bike helmet in such a way that it kept my ears warm. This was my solution. I’m tempted to knit one in safety yellow with that reflective tape stranded in.

Adelie-hat_1_web

Instructions are given for both the plain and striped version in three adult sizes. If you are knitting it in one colour, you can use a single ball of Navia Trio 
(DK/worsted weight; 100% wool; 120m / 131yds per 50g) which you can buy straight from The Island Wool Company and a selection of their lovely, local, brick and mortar stockists. If you want to get stripy, you’ll need an extra ball of colour or roughly half/half with a bit more of colour A. You’re looking for a yarn that gives you 19 sts x 32 rows = 10cm / 4” over colourworked stocking stitch after blocking. This is quite heavy for a UK DK, but it isn’t quite yet an aran. It’s right on the borders of a worsted and a light worsted. Yarn categories are so flexible and have so much variation – it’s insane. Navia is a nice standard, traditional Nordic 3-Ply weight. You could experiment with knitting in an aran weight as Helen of The Wool Kitchen did (with great results) when she tested it for me. Mandy has made a few of them, one in handspun, another in special reserve, stashed angora and a third in a marl.

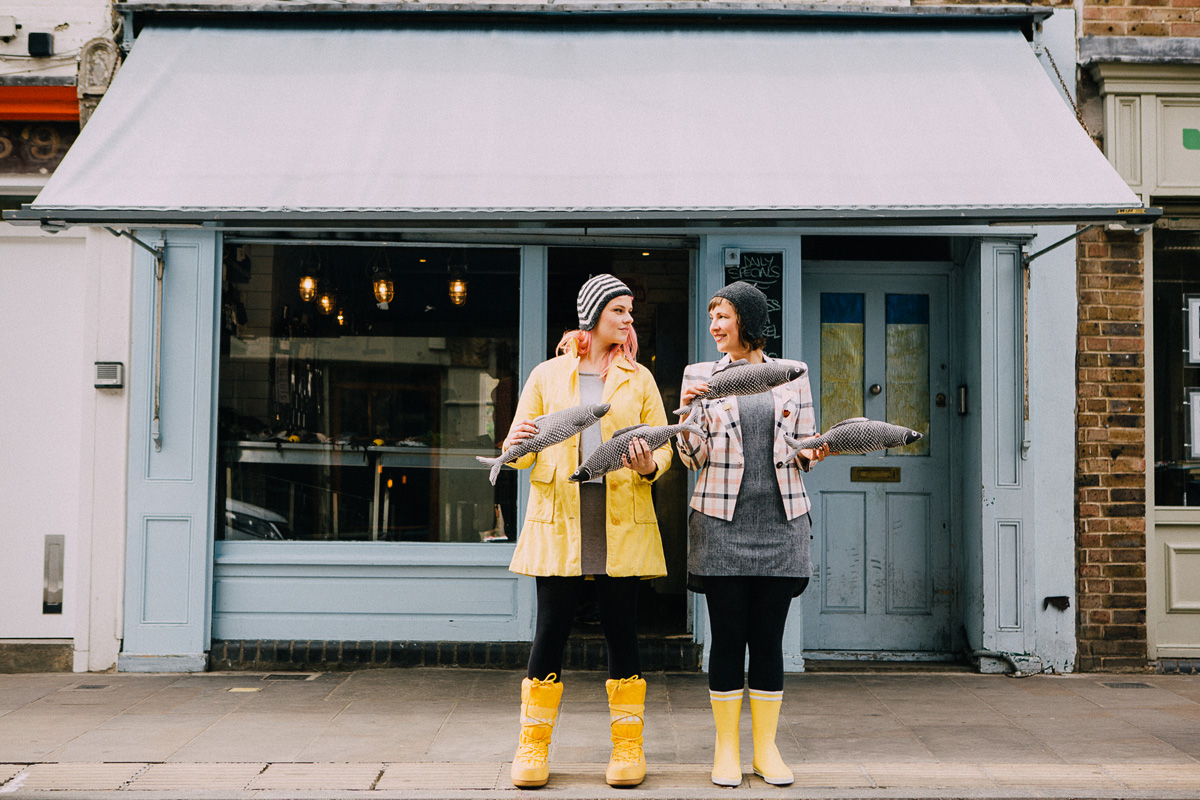
We had an immense amount of fun during this part of the the photoshoot. We did it outside Fin & Flounder on Broadway Market. They were slightly bemused, but totally accommodating. I’ve never had so many puns hurled at me by passing strangers. “Are you sure you’re in the right plaice?” “Looks fishy to me!” “Hats off to you!” “Can’t pull the wool over your eyes!” And a bunch of others I can’t recall, but apparently, the combo fish, wool and knitting is a rich vein. With all that going down, we just decided to channel Abba.

You can find the pattern details for the Adélie hat on Ravelry. Soon you’ll be able to purchase the printed Penguin: a Knit Collection book from your LYS (you might need to ask them to order it in, if they haven’t already arranged to stock it). And you can most certainly Get your copy of PENGUIN: A Knit Collection HERE!

Posted on 1 Comment

PENGUIN: Introducing APTENODYTES

The best compliment Kristin and I have received about our cardigan design collaboration has been from Joy, aka The Knitting Goddess, who described it as not looking like a knitting pattern at all, instead like something that came from a cool boutique. It made us quite giddy and we can’t wait to see Joy’s version, knitted in her hand-dyed yarn, but let me backtrack a little and put this pattern in context.

Kristin Blom and I met via Instagram a few years back and our online friendship has morphed into a very real one. Since she lives in Uppsala and I live in London, this means travelling quite a distance to visit each other, but we’ve done it a number of times now. Meeting in person for the first time included all the same nervous feelings as going on a first date – what will they think of me, what will I think of them, will it spoil the lovely online relationship that has blossomed, will they smell?

We’d planned she would pick me up from the train station where my bus would arrive from the airport. We were diving straight in – I was going to spend the night! When we located each other, she talked ten to the dozen and I had a brief moment of thinking “oh gosh, oh no, what have I let myself in for?”, before realizing that that was probably her way of compensating for her own set of nerves in the situation. Who knows what weird behaviour I was displaying.

Our friendship had worked its way beyond Instagram when she offered to test knit my Archipelago hat design for me. I don’t much recall whether she caught any dire mistakes in my instructions. What I remember was her casually asking me at the end of the process whether I needed help laying out the pattern and turning it into a PDF. It was a little bit like the heaven’s had opened and a giant light shone out. I heard a little chorus of chipmunks or maybe rats singing. I remember thinking “how the hell did she know that?” I quickly said yes, please.

There’s a lot of work involved in making a pattern and it’s so nice to share that. Kristin is a communication designer, but importantly, alongside that, she is an ardent knitter. She and I made Penguin: a Knit Collection together. She was the one who made it possible, making it look good on paper and be a joy to knit from, aside from all the patterns she tested. I couldn’t have done it without her. We have spent hours and hours on the phone together, well, Skype actually, working through edits. Our own little work rhythm and system of interacting has developed and I think I am going to suffer from serious Kristin withdrawals now the book is done.

The Aptenodytes cardigan is a design collaboration between her and I. She cooked it up – the shape, the stitch and cool use of a loose tension. She turned up at my house with the first sample for a knit evening we’d organized to celebrate the fact that a bunch of international knitters were coincidentally in London at the same moment and we had to gather to knit together. We all tried it on and fell in love, regardless of the fact that a couple of us weren’t usually inclined to such flow-ey garments.

I was excited to be able to test knit her first big pattern. It felt like reciprocating for all the testing she does for me. Soon, to feel-out her reaction, I hinted it that the cardigan was quite penguinish (the rounded fronts that drape down like wings, the luxurious collar, the slimline sleeves…) I’d been worried I had penguins so firmly on the brain that I might be seeing them everywhere, even where they weren’t. When she agreed, I asked her if she’d have it in the book and she agreed to that too. I helped make it work as a pattern, adding the sleeve-and-back-into-shoulder construction and the grading for a good range of sizes.

Aptenodytes_cardigan_front_detail_web

Its drape-frontedness makes it flattering on a full range of body sizes. Because of the open style of this cardigan, we recommend erring towards a smaller rather than larger size, so the sleeves fit snuggly. It goes up to an XXL and I think it will look great on the big boobs I don’t have. The shaping also works particularly well for penguin mamas: whether pregnant or breastfeeding. Kristin was just pregnant when she started designing it and wanted something to wear that would see her through that time and well beyond: something that wasn’t maternity wear in any way, but did have that flexible fit. She’s made the cutest baby in the time we’ve made the book.

Sometimes row tension isn’t as important as stitch tension, but for this pattern it’s worth keeping a close eye on both, because the fronts are worked sideways and need to work with the vertically knitted sleeves, back and collar. Also the sleeves are knitted in the round and the body flat, which means it’s good to check how your tension differs between flat and circular knitting. Many knitters find their tension can change significantly. Mine does OK between circular and flat, unless I’m working magic loop and then it diverges quite dramatically. If this is the case for you, make sure to check your tension carefully between sleeves and body and adjust your needle size accordingly. This may mean you need an additional needle in a different size.

On the subject of needles, if you are choosing ones specifically for this project, I would chose ones with nice pointy tips, such as Addi Lace or Chiaogoo. A nice pointy tip makes it easier to insert the needle into 4 stitches at once, which you will need to do for the daisy stitch. The engaging stitch pattern alternates rows of daisy stitch with eyelets and purl feature rows on a base of stocking
 stitch. The stitch pattern is written and charted and is nice and easy to remember and see where you are.

Have fun picking the yarn. There’s a lot of flexibility. I’ve used a single colour of Navia Duo in the book, which is a 4ply/Sport weight, knitted on larger needles to get a heavy DK/worsted tension with drape. You want to look for a yarn that indicates 22-23 sts to 10cm on the label and adjust your needle size to obtain the Aptenodytes tension which is 19 sts and 26 rows = 10cm / 4” over stocking stitch on 5mm (or whatever needle size you find you need). Generally this means you will knit on larger needles to achieve fewer stitches than specified on the ball band. Alternatively, use a DK weight yarn if you want a warmer, more densely knit garment. Navia Trio would work great and both are available from The Island Wool Company.

Aptenodytes_detail_webYou could even use two colours to pick out and feature rows of the stitch pattern.

It is fastened with a button on either side of the neckline (one hidden button and one larger feature button) with the option of two different buttonholes on either side for a variety of ways to wear it, so that’s another part you can have fun choosing – the buttons AND how to button it up!

I know we tend to shy away from all-black knitting projects, they’re not always the easiest to keep track of in low-light situations and from a designer and photographer perspective, it can be hard to communicate the details that shine in the actual knit. But, it had to be black for the book shoot in order to emphasise the penguin nature of it and beyond that, think how much you would wear it!

The Aptenodytes cardigan is one of the 11 patterns in Penguin: a Knit Collection. You can find the pattern details on Ravelry and, soon, purchase the print book from your LYS (you might need to ask them to order it in, if they haven’t already contacted me to stock it).

Get your copy of PENGUIN: A Knit Collection HERE!

Posted on

PENGUIN: Introducing FLEDGLING

The Fledgling mittens are baby emperor penguins for your hands. They are one of the 11 patterns in Penguin: a Knit Collection and the first I am properly introducing you to. I’ll share the others, one a day, till they’re all covered.

Cute, as well as practical, these colourwork mittens are knitted in the round with afterthought thumbs. They start with a ribbed cuff and progress to simple 1×1 checkerboard colourwork. The tops of the mittens (the little emperor penguin chick faces) are charted separately for each of the 3 sizes. The densely knitted wool fabric has the added bonus of floats (from the colourwork) at the back, which make them extra warm.

Fledgling is the generic name for baby birds after they have gained their flight feathers, but penguins can’t fly (unless you count how they travel through water). Birdies tend to buck the trend of baby animals being adorable straight off the bat. They are often bald and pinkish red (not in a cute way) with dark blue grey bulbous eyes that shine through their thin skin even when closed. Not to mention their cavernous beaks. Hatching pre-feathered, penguin chicks get to skip that phase and be instantly can-I-keep-it? cute. They need those feathers to equip them to withstand intensely cold temperatures and wind (though they still have to snuggle on the feet of their parents for additional warmth).

Knitted in three shades of Navia Trio, a DK/worsted weight yarn that’s 100% wool and which you can purchase from The Island Wool Company, you’re looking for 28 sts x 30 rows to measure 10cm / 4” x 10cm / 4” over the checkerboard pattern. This is significantly tighter than you would knit a DK/worsted sweater in, where you would look for a tension of 19sts to 10cm/4” from the same yarn. That makes it a heavy DK for us in the UK and somewhere on the borders between a worsted and a light worsted in the USA. Navia is a Faroese yarn and comes in the traditional Nordic weights of 1-Ply, 2-Ply and 3-Ply, hence Uno, Duo and Trio. These equate loosely to laceweight, 4ply/sport and DK/worsted.

I have indicated the places in the pattern where you might want to make adjustments to tailor your mittens to your specific hands (or whoever is going to be the lucky recipient): at the cuffs, the length of hand before the colourwork face and the length of the thumb. I designed them to have nice deep cuffs of 6cm / 2¼”, which in combo with the ribbing should hold them on your hands snuggly. Regardless, I’d be tempted to sew a long length of elastic between them and thread that through my coat sleeves like my mum used to do with my gloves and mittens when I was little. I’d hate to lose one of these! They have faces on, which means they have characters and should have names.

Lynn Manderville did me the honour of test knitting them for me. She knows a thing or two about colourwork mittens (just look at her Weeds pattern). As well as tech editing the pattern, Rachel Atkinson couldn’t resist knitting a pair. She is still settling on what to call hers. Archie and Isaac, Milo and Steve or Pete and Petunia are in the mix. Any further suggestions welcome. What would you call yours?

You can find the Fledgling pattern details on Ravelry and Get your copy of PENGUIN: A Knit Collection HERE!